
How I Paint Realistic Pet Portraits in Watercolor
Watercolor is one of the most challenging mediums for achieving realism. The difficulty arises from the physical behavior of the paint, the transparency of the medium, and the limited ability to correct mistakes. Graphite, for example, can be easily erased or lightened, and even colored pencil can often be lifted, covered, or blended. Oil paint is even more forgiving: it stays wet long enough to wipe, scrape, or blend out errors, and you can paint directly over dried layers, allowing repeated adjustments without damaging the surface. Watercolor, however, is far less forgiving. Most mistakes are permanent, and lifting or scrubbing the paint can damage the paper while rarely removing the marks completely. Dark areas cannot be lightened significantly, so watercolor demands careful planning, patience, and extraordinary control and precision to achieve realism.
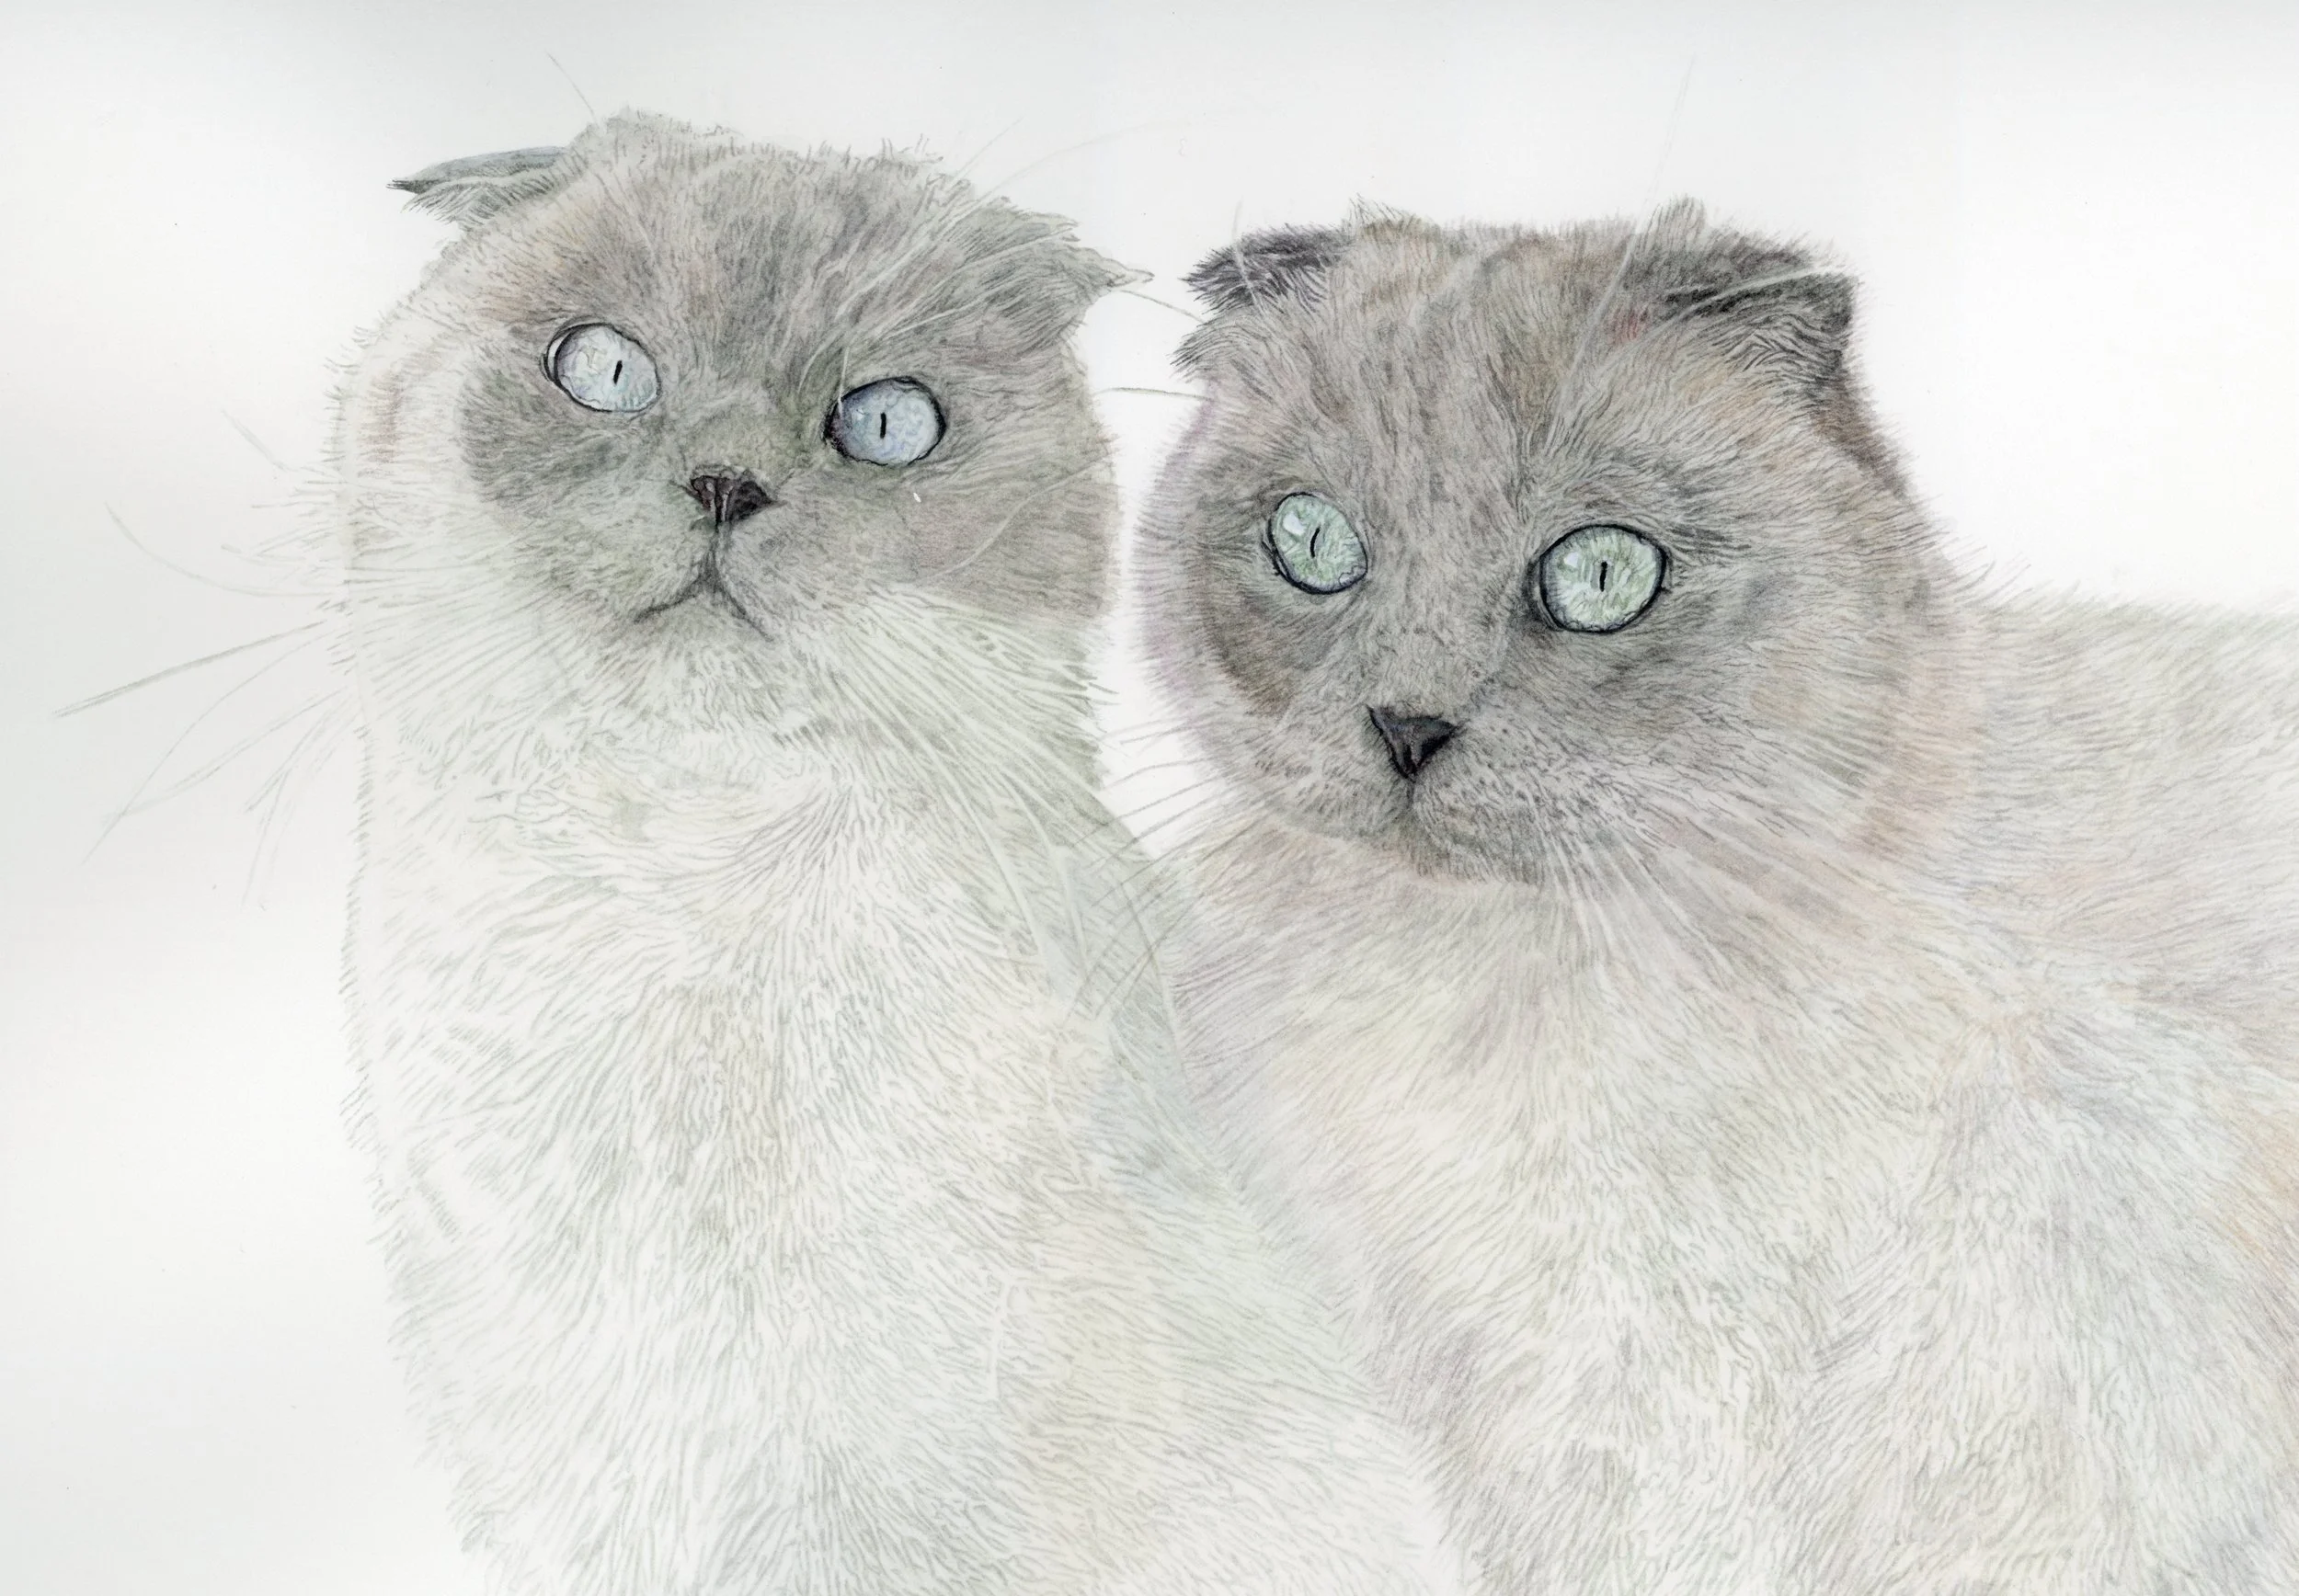
So, how do I paint a realistic pet portraits in watercolor? Let me walk you through my process as I work on a portrait of Nyx and Astraea, two adorable Scottish fold mix sisters.
Usually, I begin each painting with a thin wash, using an underpainting technique to establish tonal values. This time, however, I am painting white fur, which requires a different approach. First of all, white fur isn’t truly white in nature. “White” can include a range of off-whites, creams, cool grays, warm yellows, pinks, and purples. Secondly, I believe that the negative painting technique is perfect for creating the illusion of white fur. Negative painting in watercolor involves painting around an object rather than painting the object itself. In other words, instead of adding color directly to the subject, you define its shape by darkening or tinting the surrounding area. You might wonder, “Why not just use masking fluid?” Even when applied with an extra-fine nib, removing dry masking fluid often leaves harsh edges. Of course, you could repaint over these areas to soften them, but I find this extra work unnecessary. In my experience, masking fluid rarely saves as much time as it claims to.
Step 1: Creating a detailed drawing
I start with a detailed pencil drawing using the grid method, which helps achieve accurate proportions. A grid is placed over the reference image, and a matching grid is drawn on the paper. I then copy the image square by square, focusing on small shapes instead of the whole picture. This makes the drawing process more manageable, especially for realistic work. Once complete, I erase the grid. This process takes me about nine hours. In my opinion, it's best to spend as much time on this stage as possible because a detailed drawing lays the foundation for the entire portrait. Once proportions are correct, I work closely with reference photos to capture fur direction and as many details as possible.
Step 2: Tracing and transferring the drawing to watercolor paper
Drawing directly on watercolor paper can damage it, especially when multiple corrections are needed. Instead, I draw on regular paper, trace it, and transfer the drawing to watercolor paper. My favorite tracing paper is Daler-Rowney 60gsm, which is excellent quality. To transfer, I place the tracing paper over my original drawing, secure it with tape, and trace the lines carefully with a pencil. I then flip the tracing paper and repeat the process. Finally, the drawing is ready to be transferred to the watercolor paper.
For this painting, I used Arches Hot Pressed 300 g/m² paper. This is a superior quality 100% cotton paper with a smooth surface that is perfect for precision work.
Step 3: Replacing graphite lines with watercolor
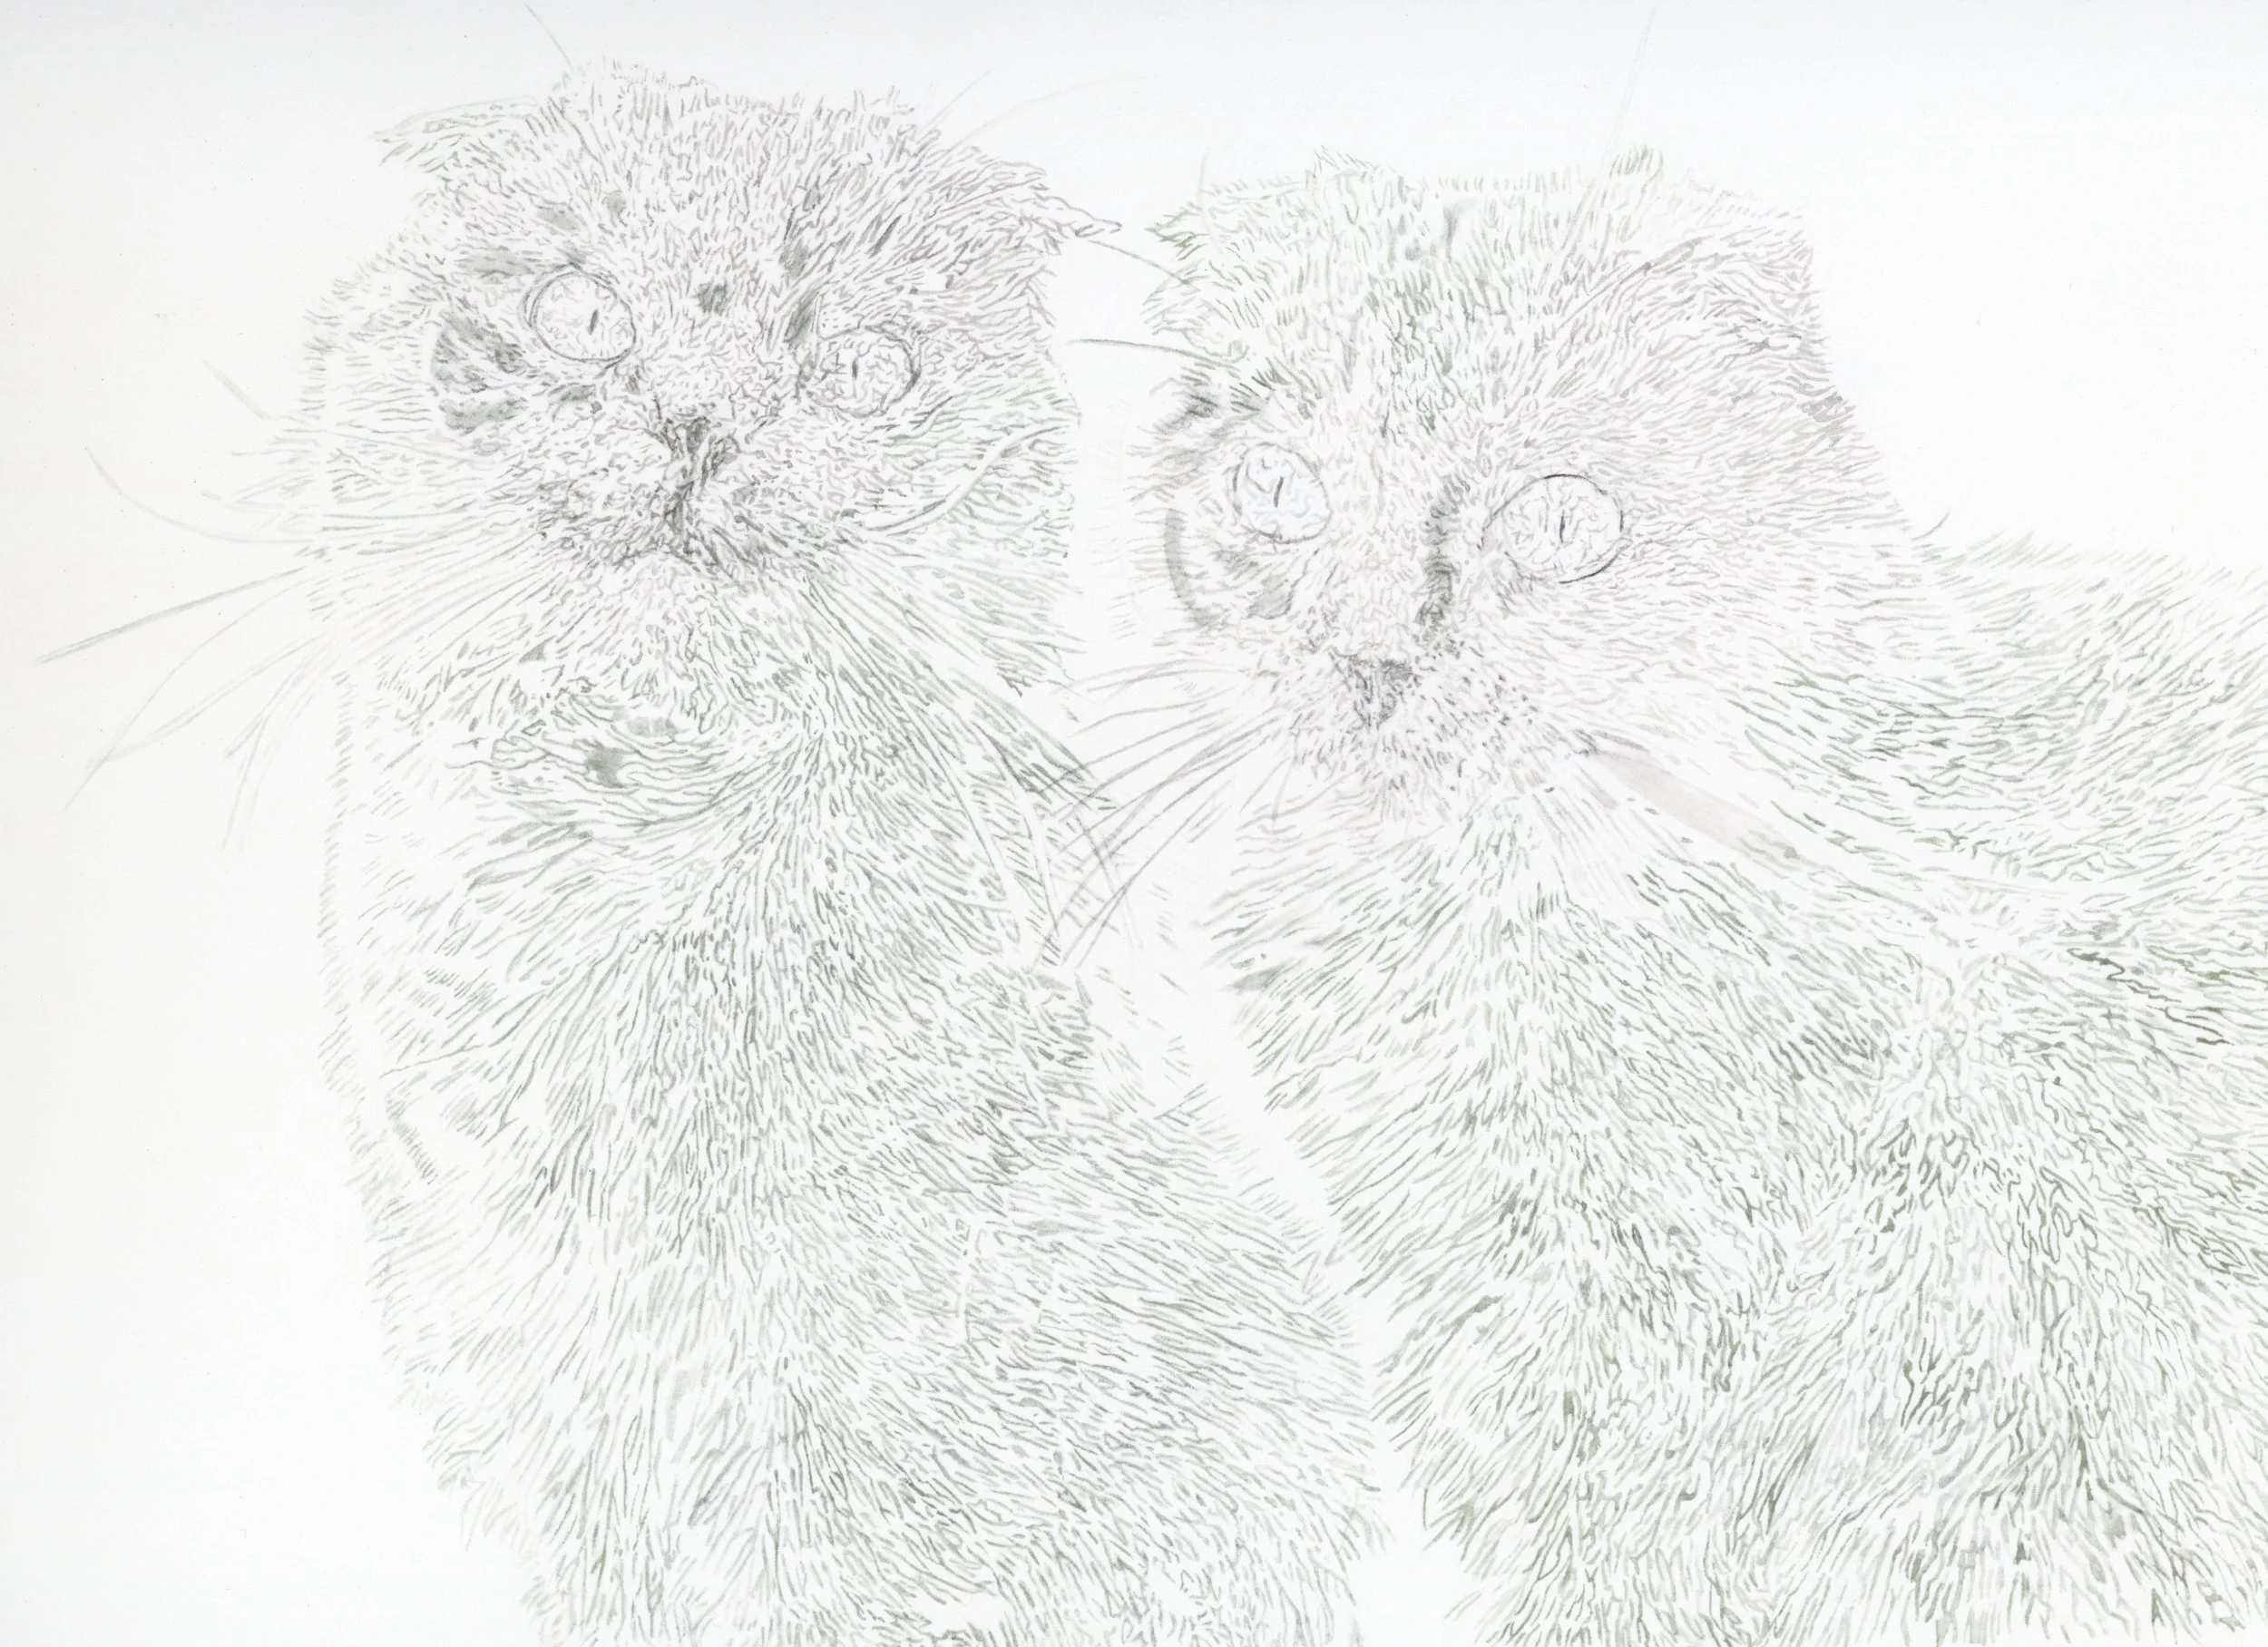
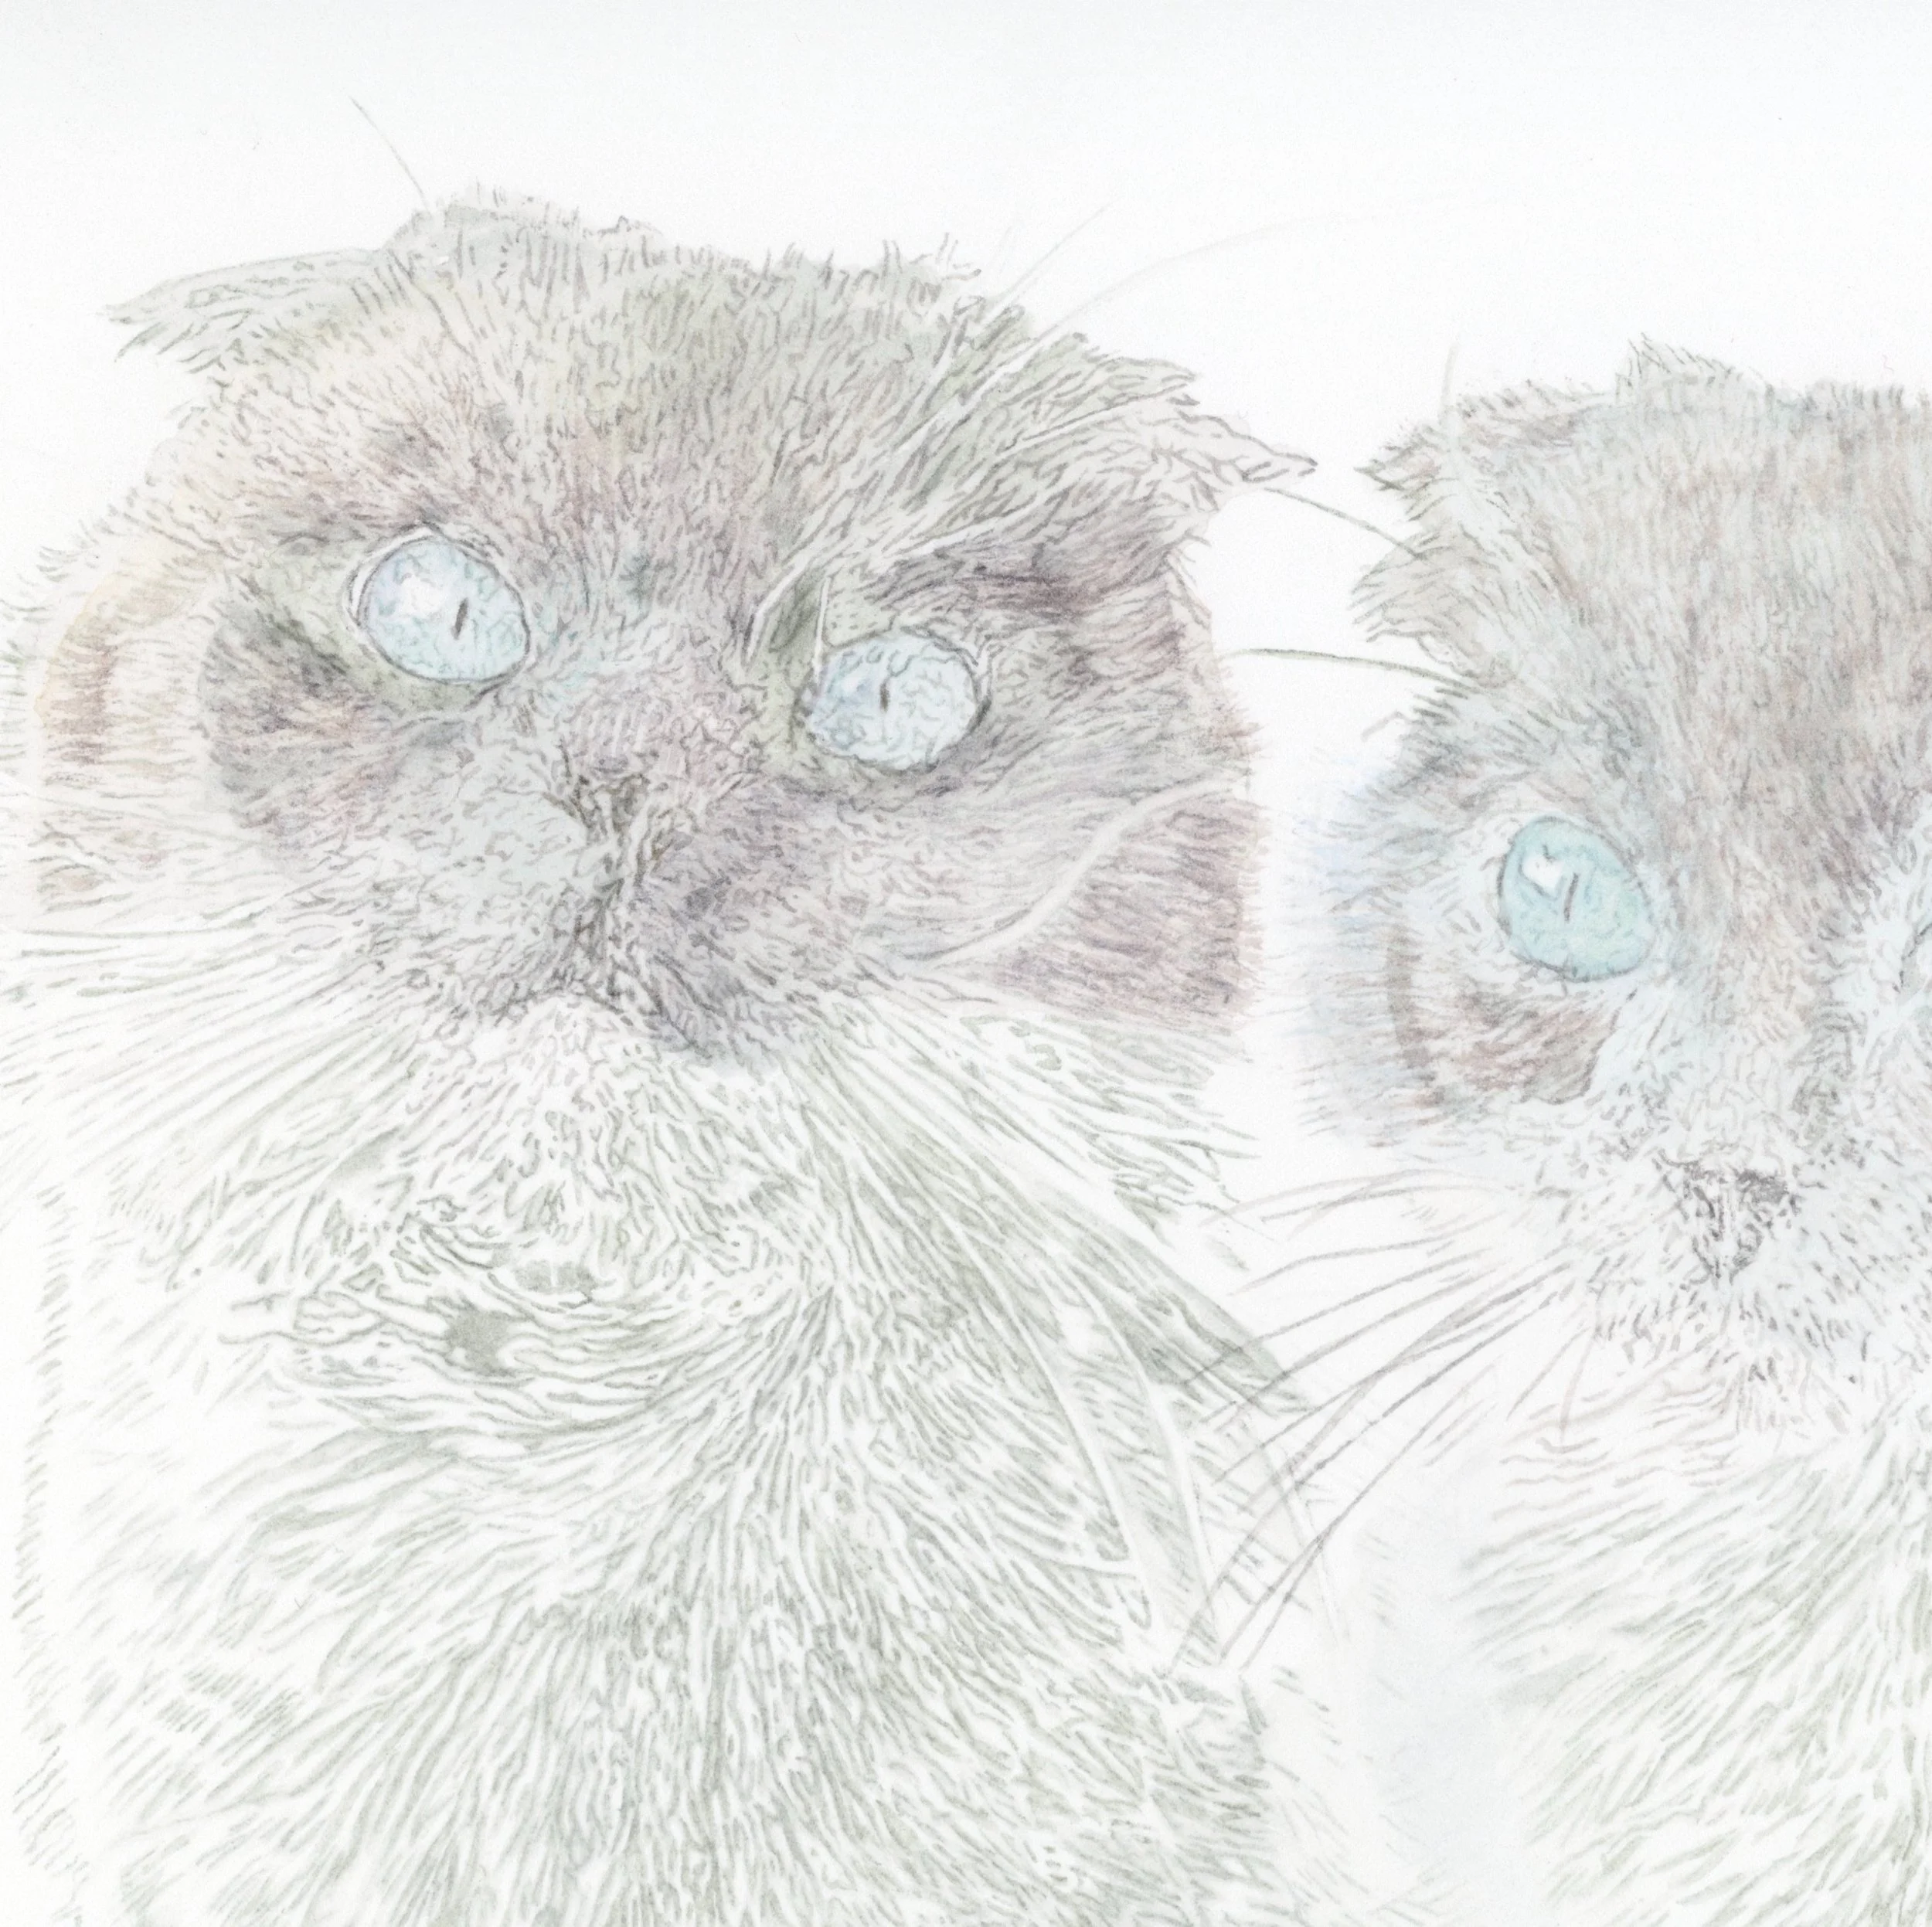
I use Billy Showell’s Fine Liner brush at this stage. Its synthetic hair and shape holds paint well, allowing me to create many fine lines, which is perfect for capturing tiny details. Using a grey paint mix, I work closely with the reference image, carefully following the direction of the fur. Fur rarely lies in perfectly parallel lines, so attention to detail is crucial. Here’s what the painting looks like at this stage.
Step 4: Negative painting: perfecting the fur markings
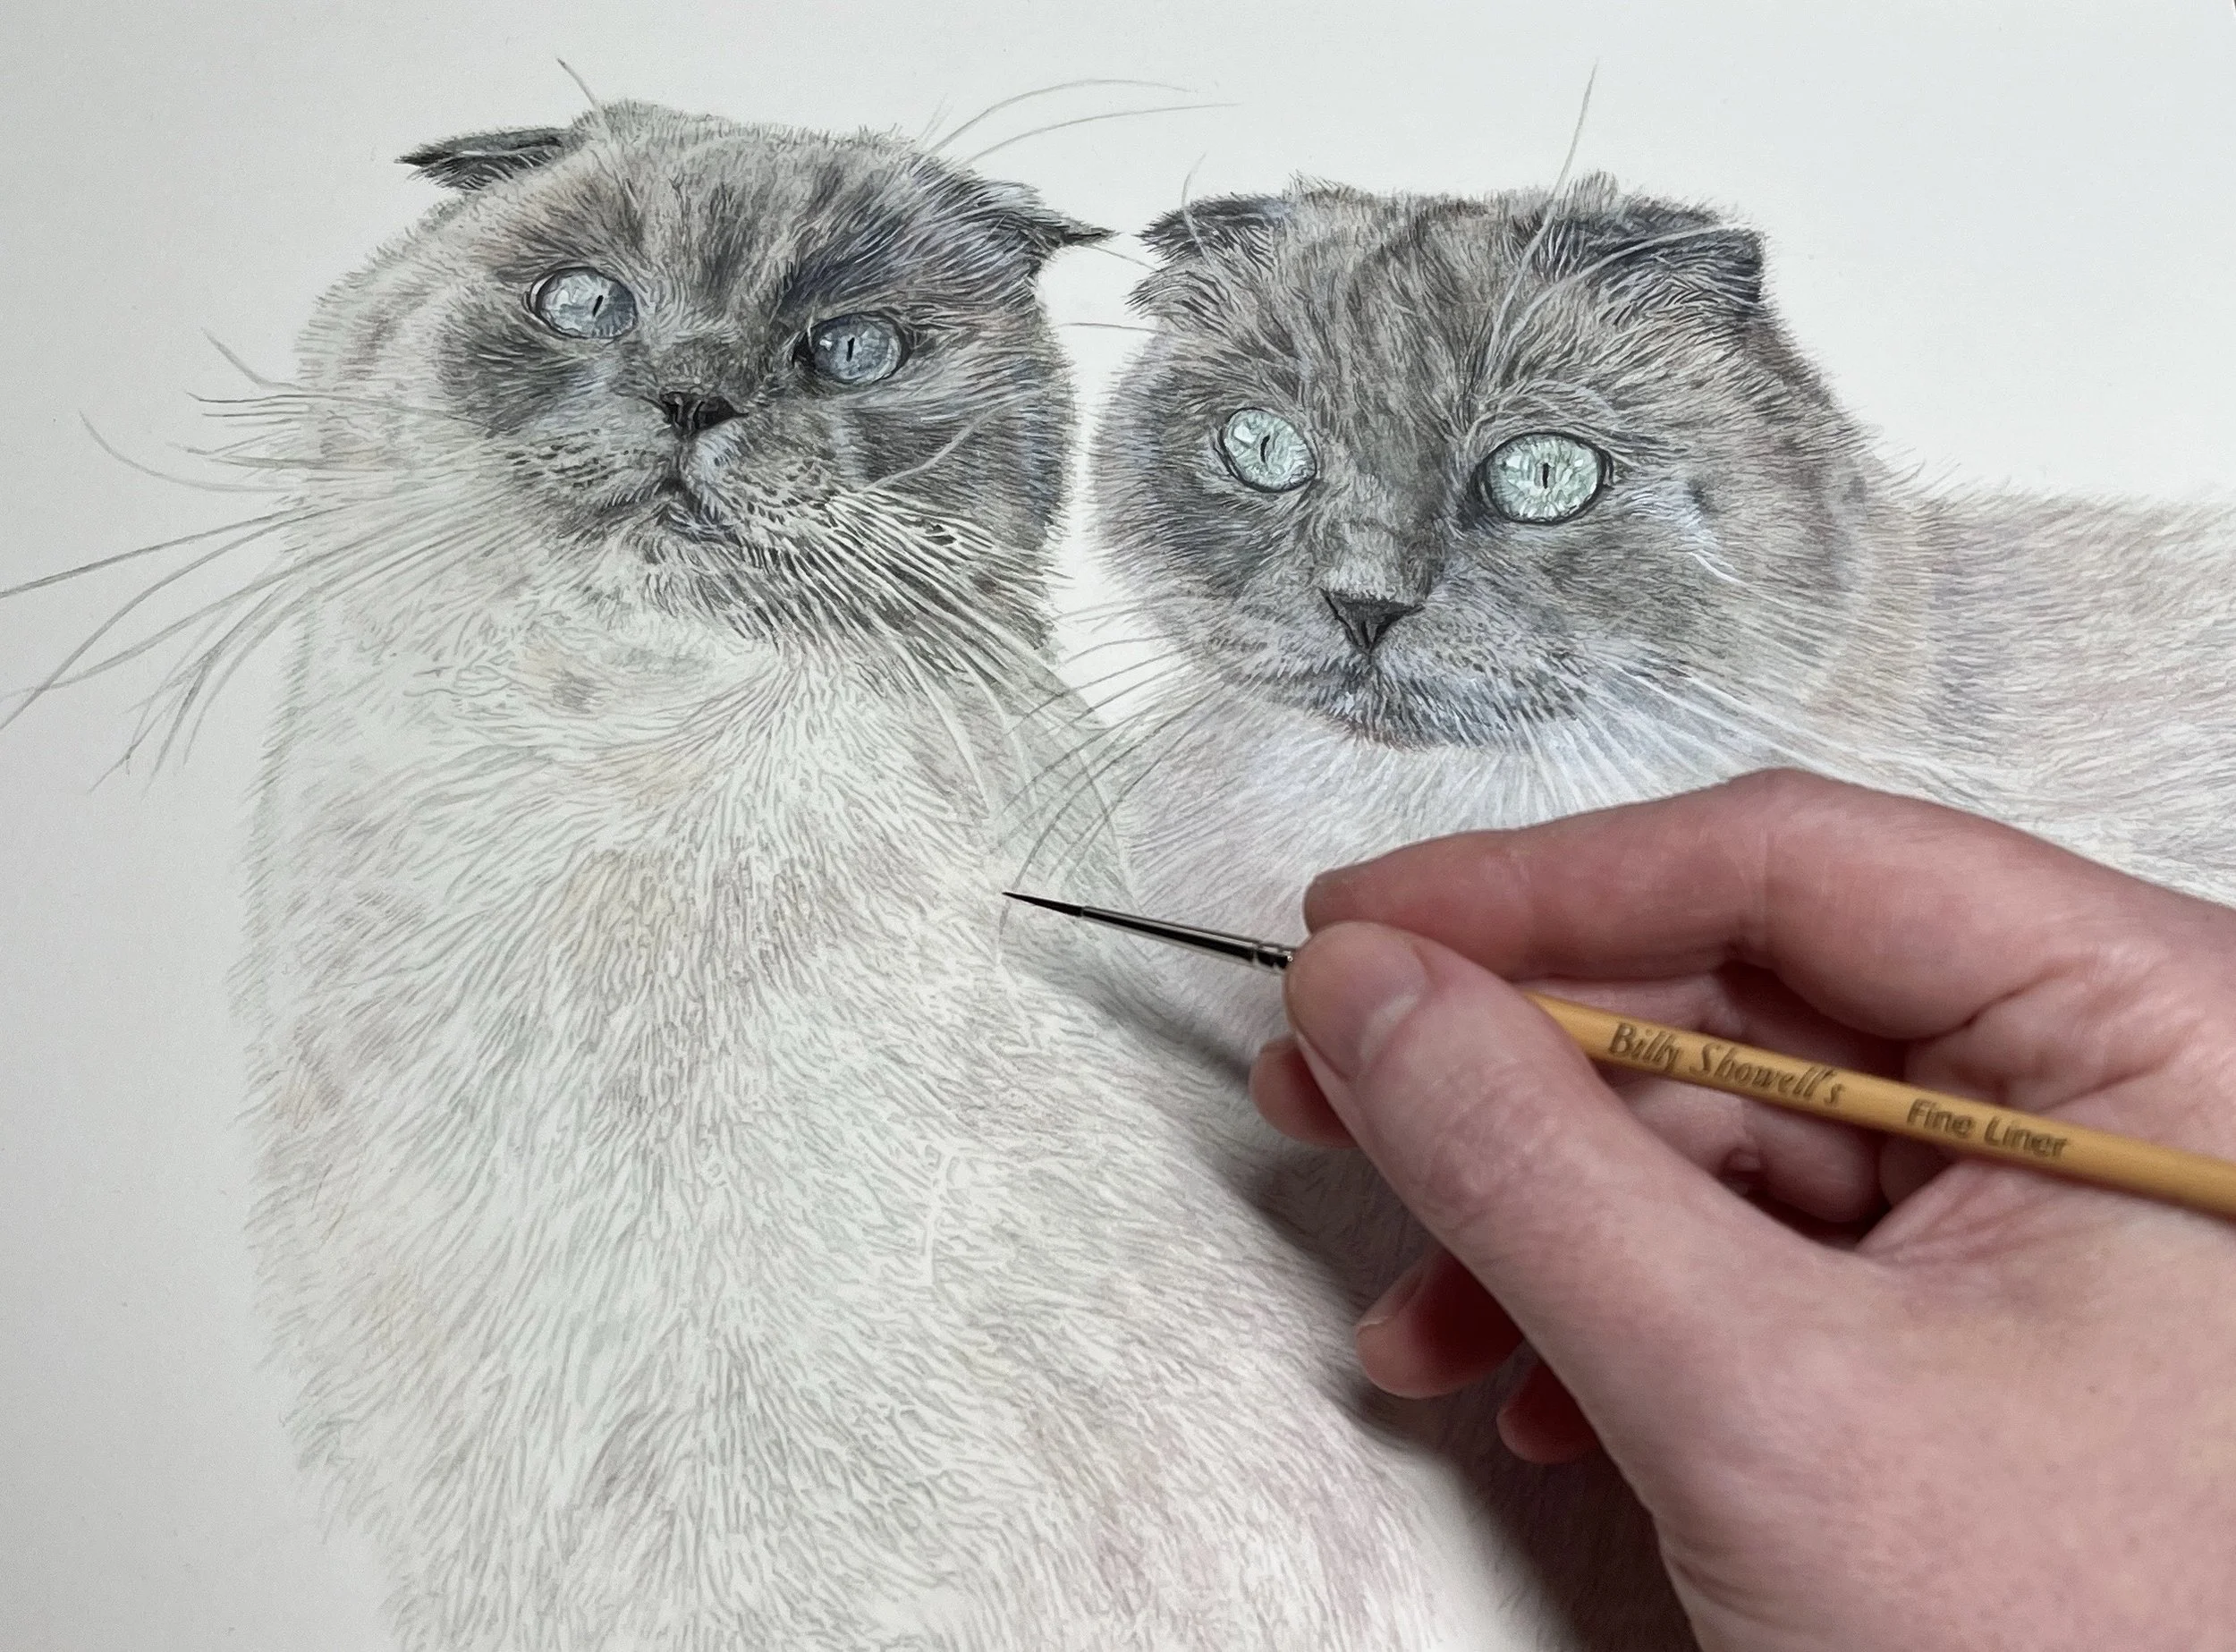
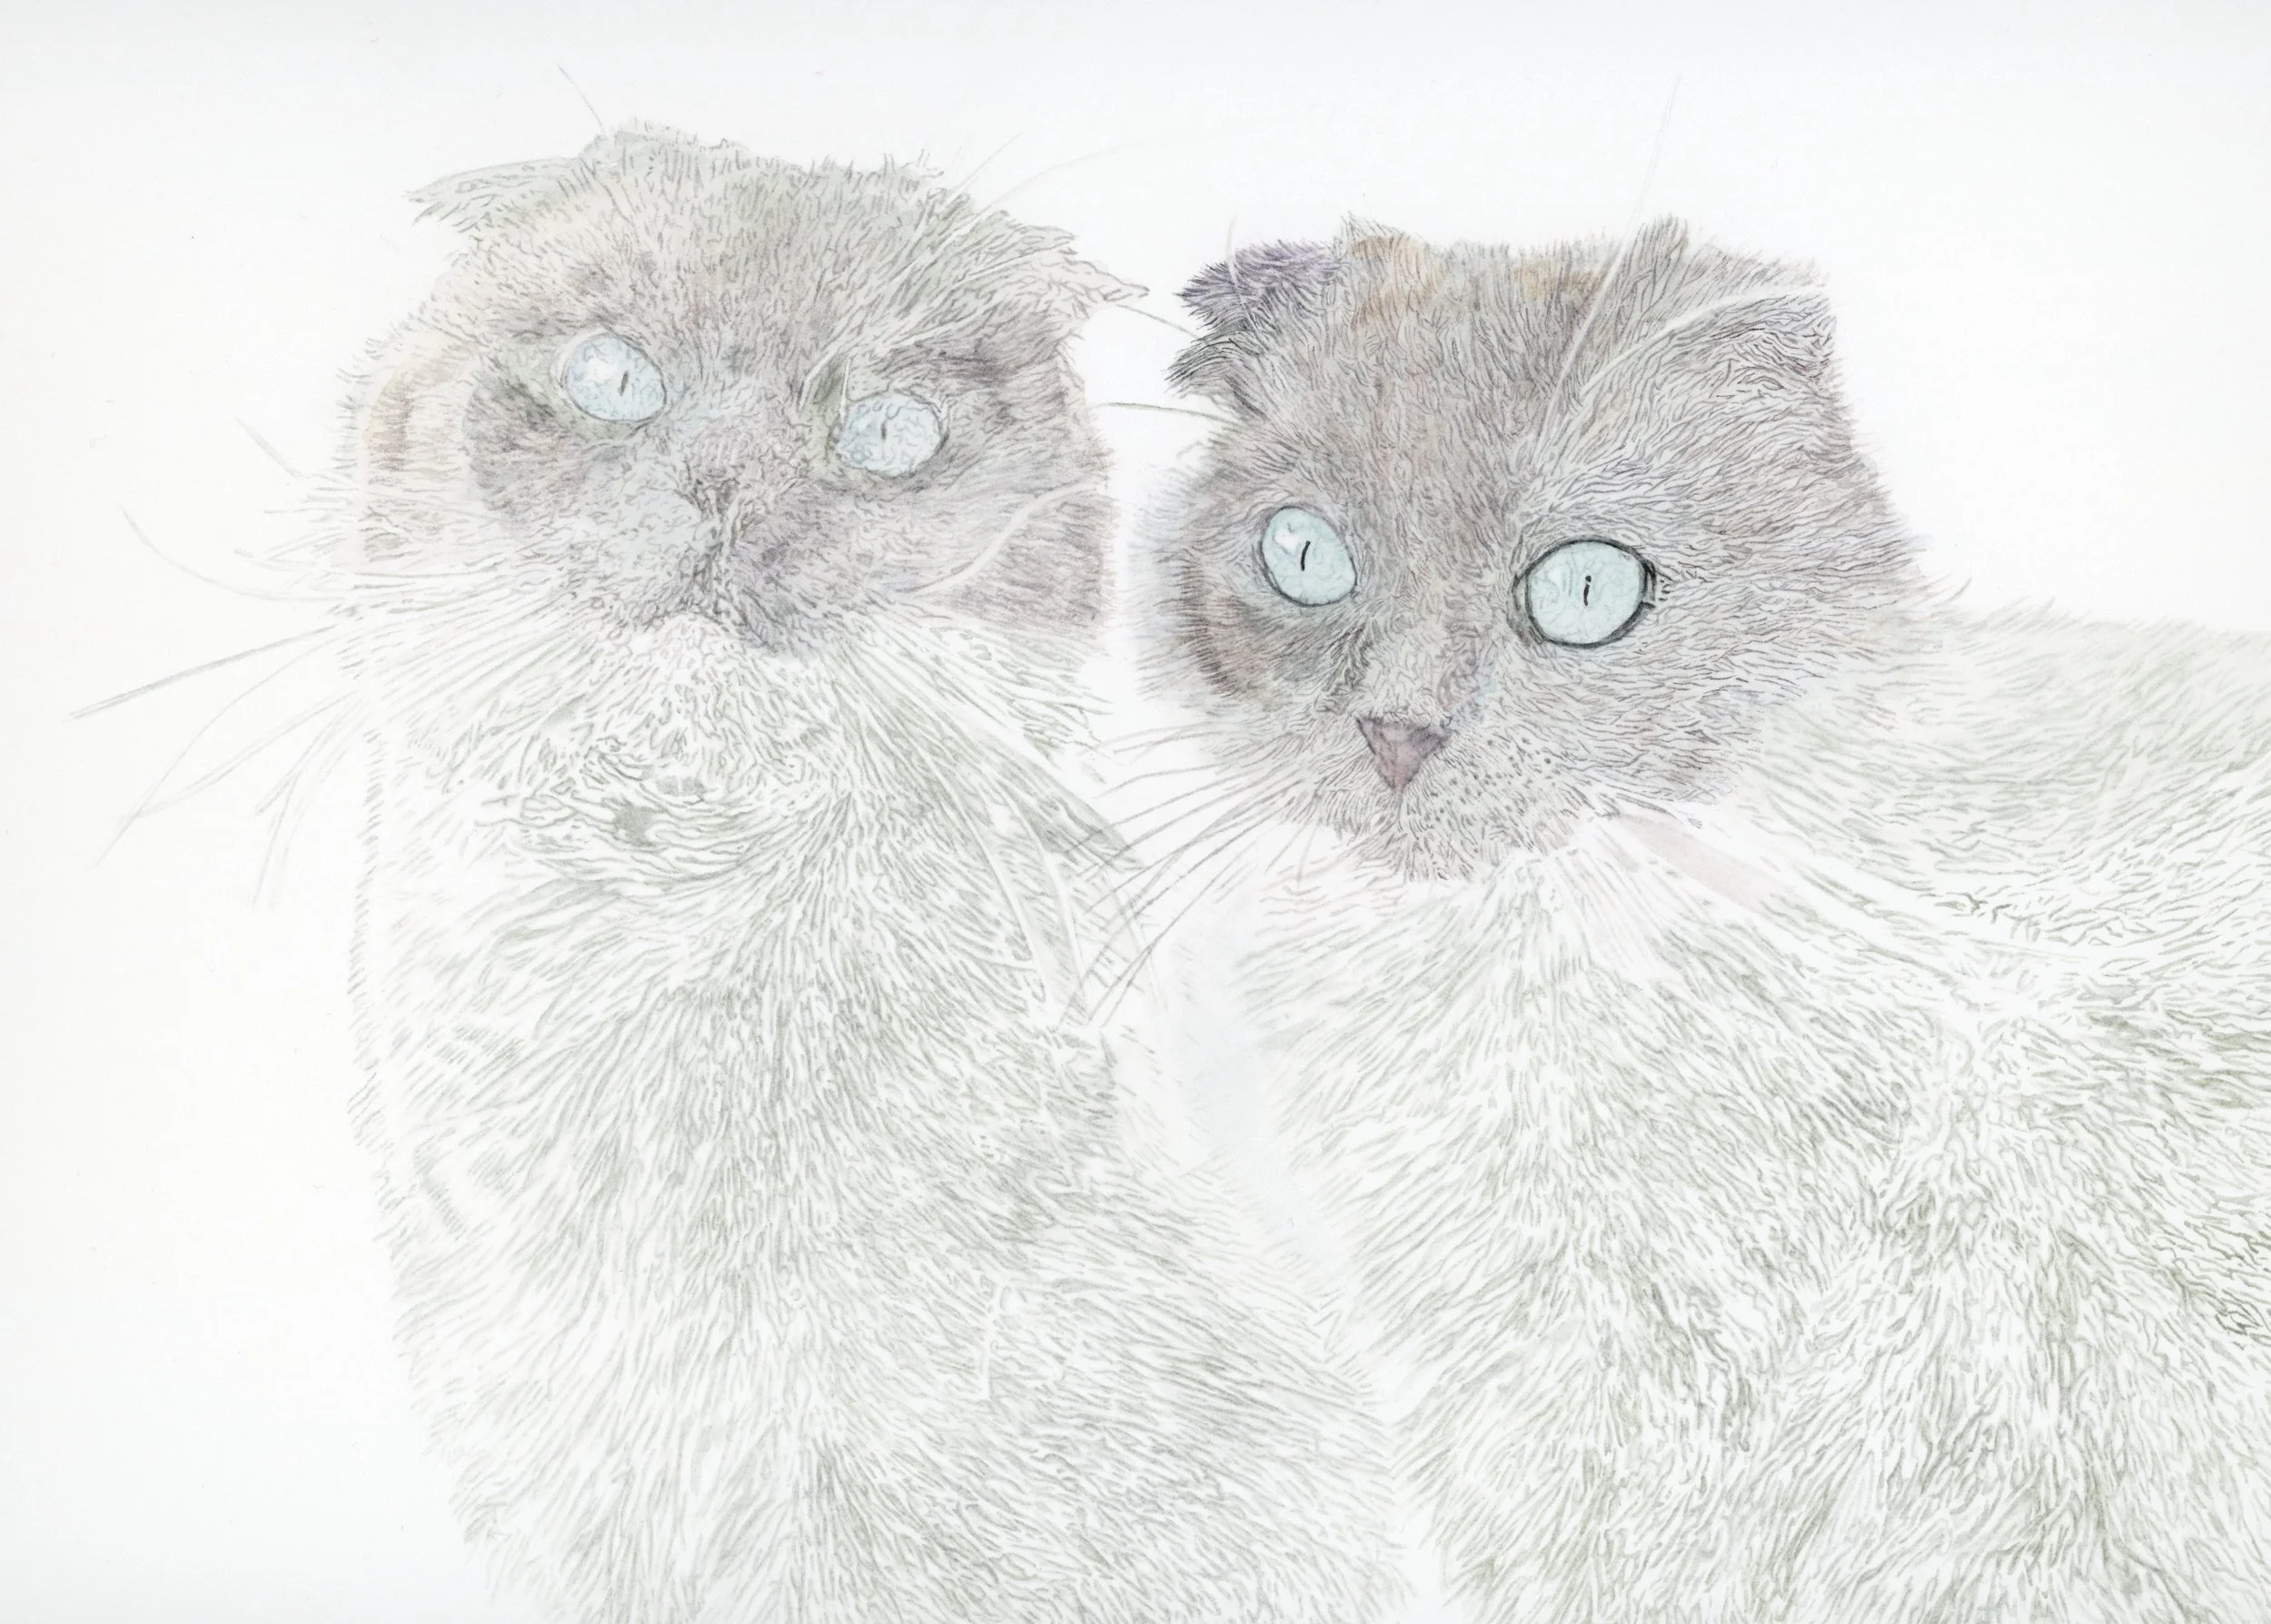
This stage is largely intuitive. I work with a stiff miniature brush, such as ProArte’s Series 102 Prolene in sizes 0000, 000, 00, and 0, ideal for detailed work. With just a touch of water on the tip, I refine fur markings: elongating, thickening, or softening strands as needed. Comparing the two cats in the painting, the difference is clear: Nyx’s fur (on the right) appears much softer and more natural than Astra’s.
Step 5: Achieving realism: foundational layer
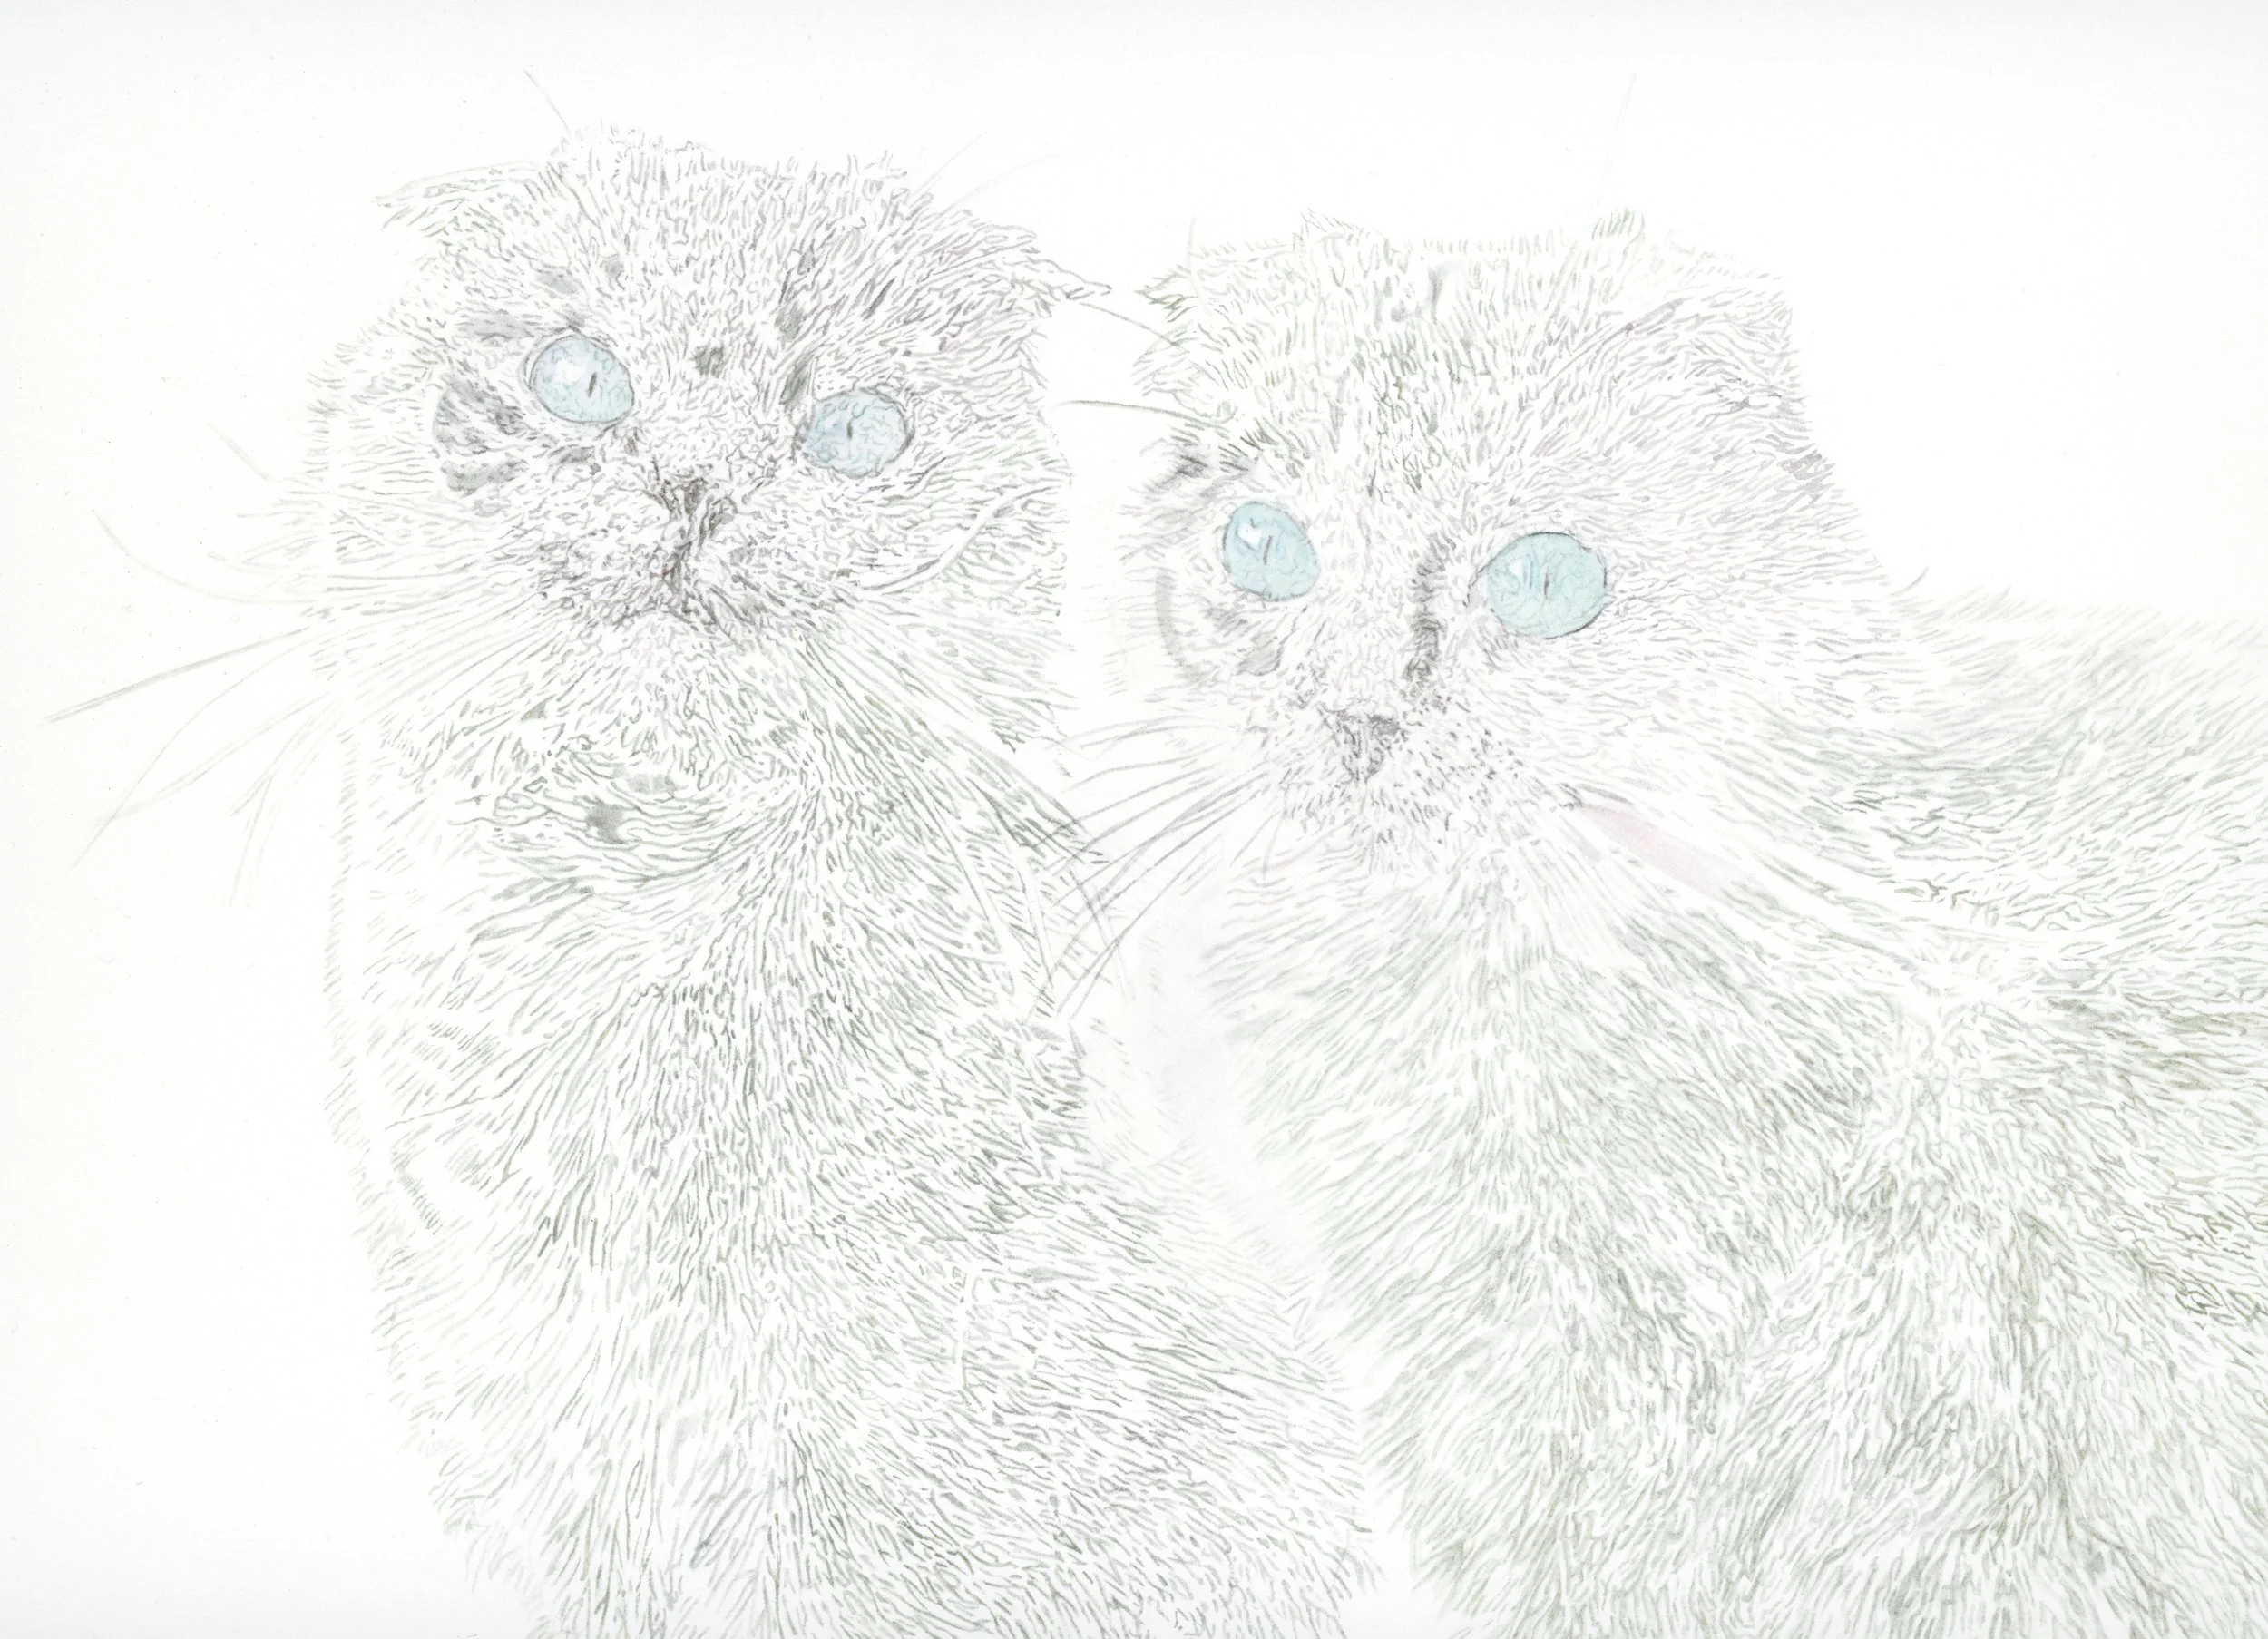
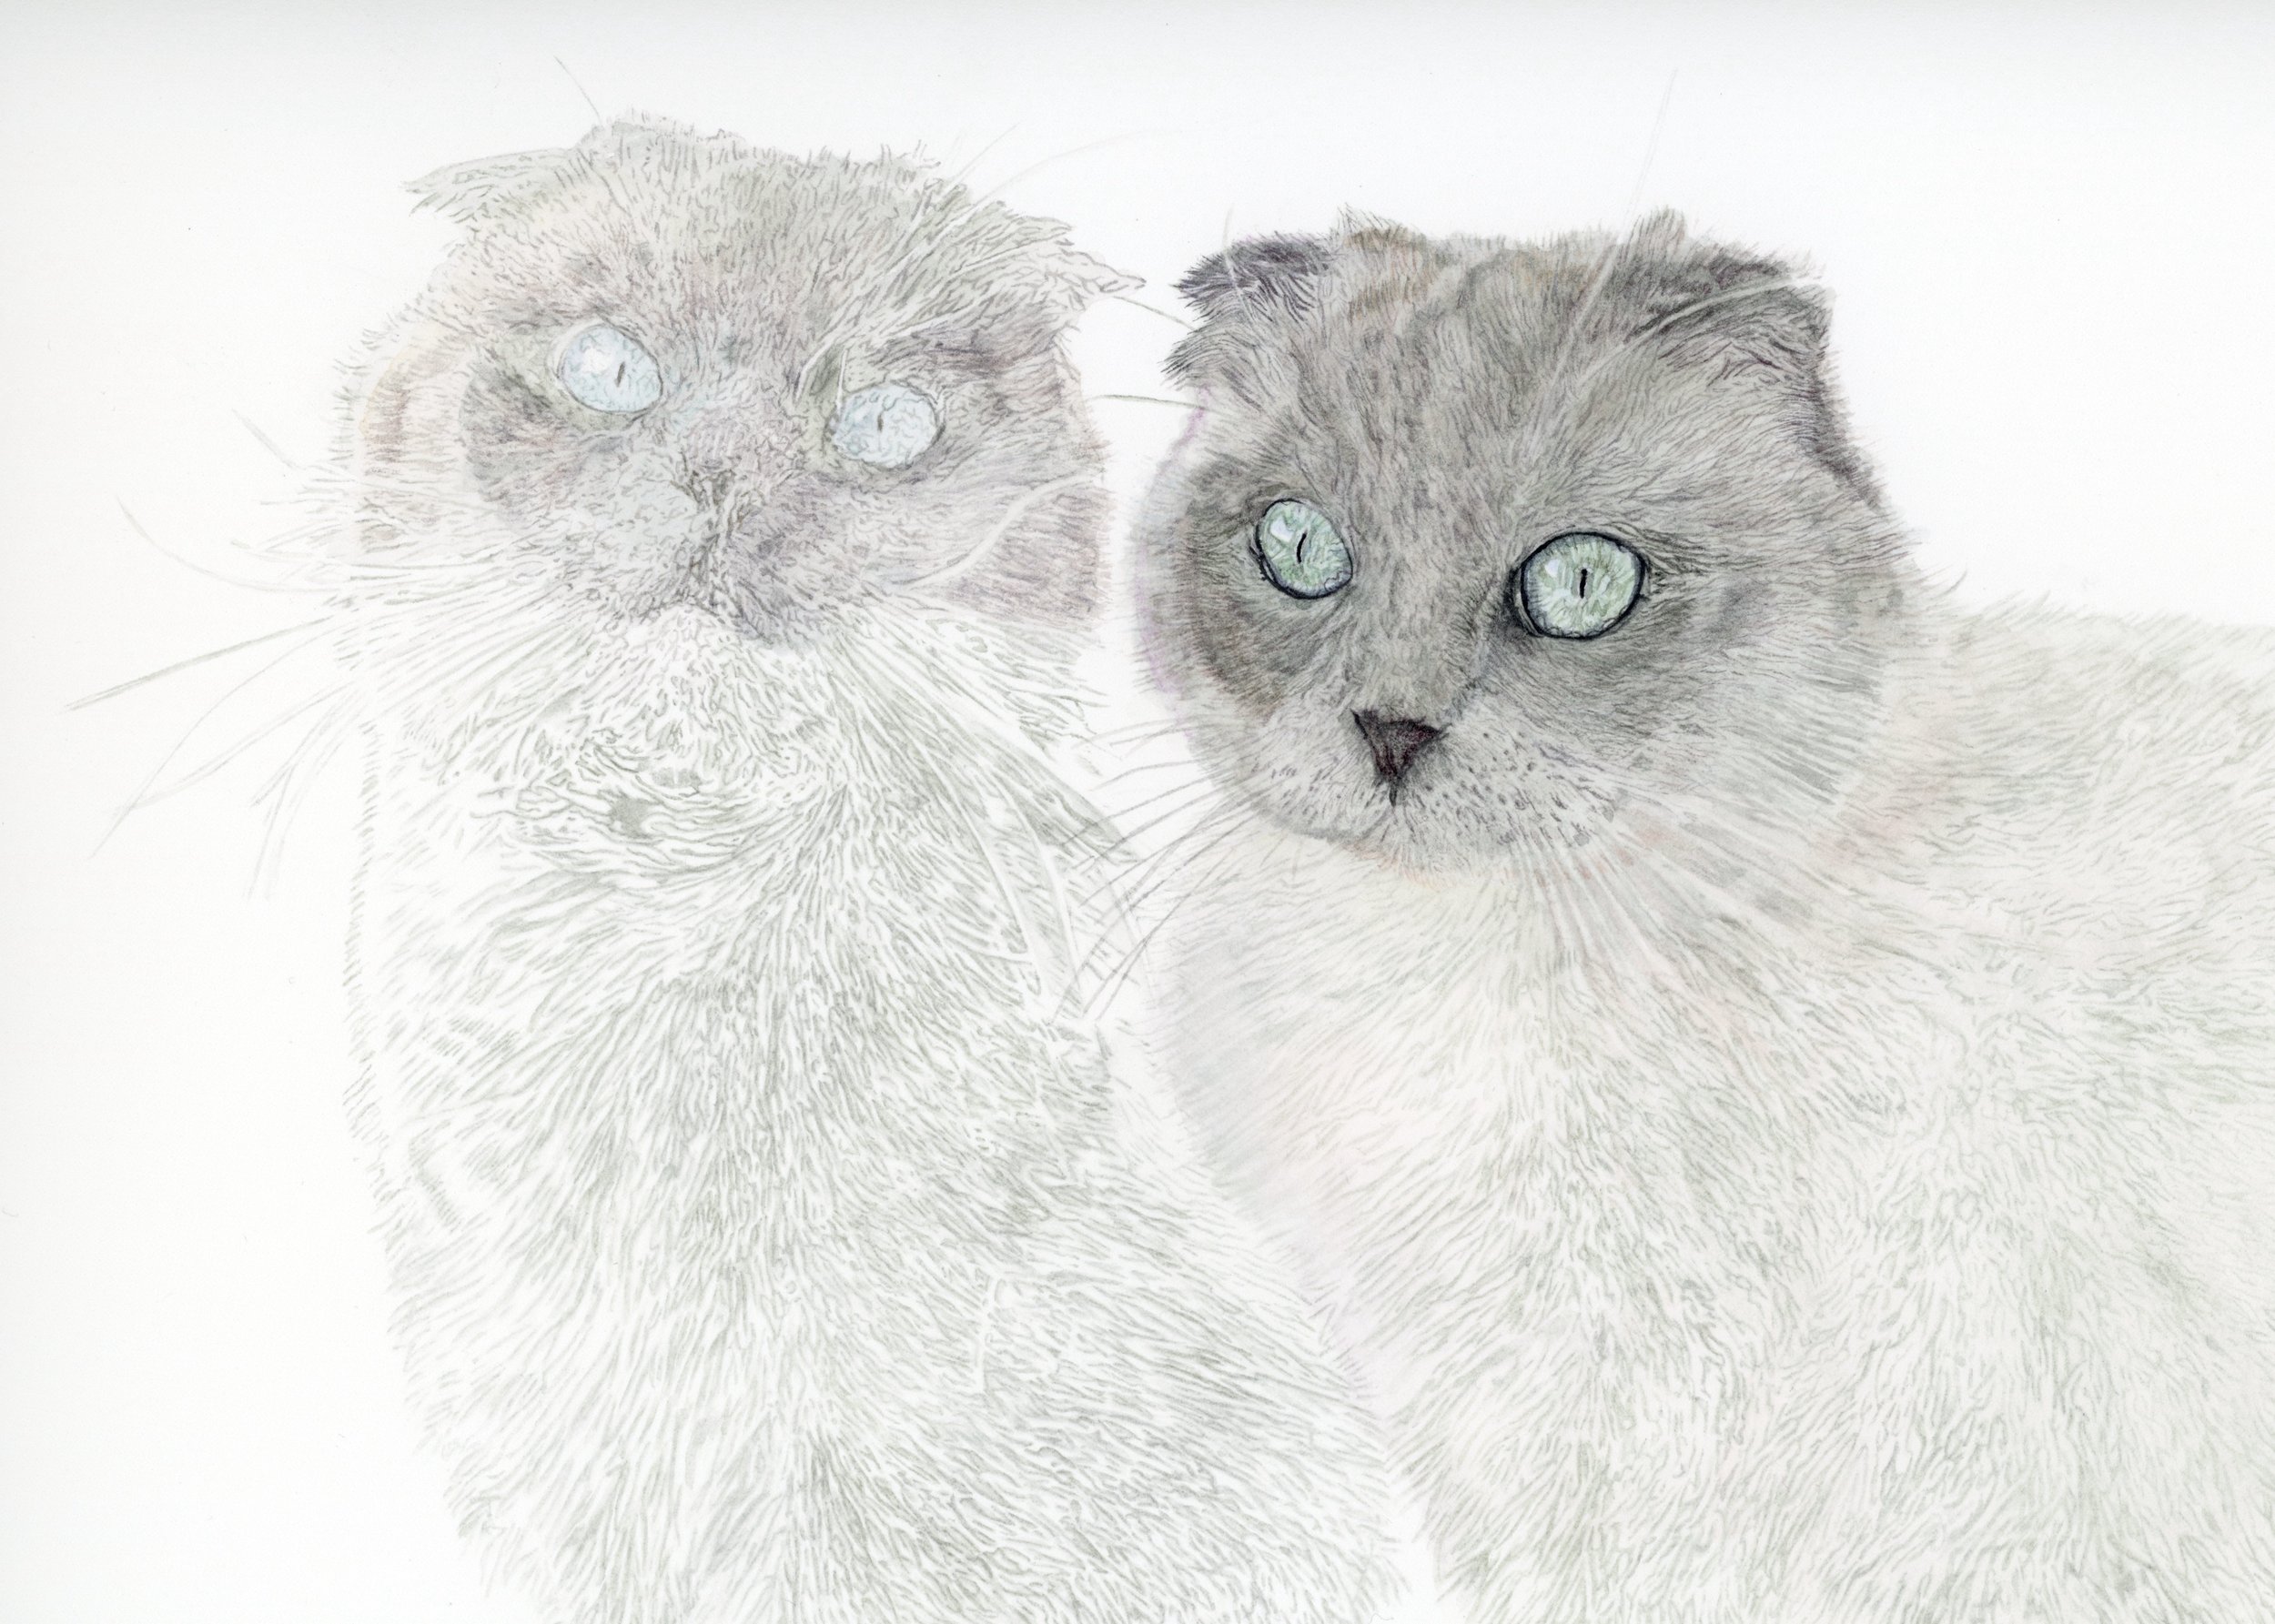
Achieving dark values, crucial for realism, requires many controlled layers. I start by studying the reference and painting a foundational layer first. For dark grey markings on Nyx and Astra’s faces, I begin with light grey, blue, pink and purple mixes to establish tonal values.
Step 6: Building intensity and depth of color
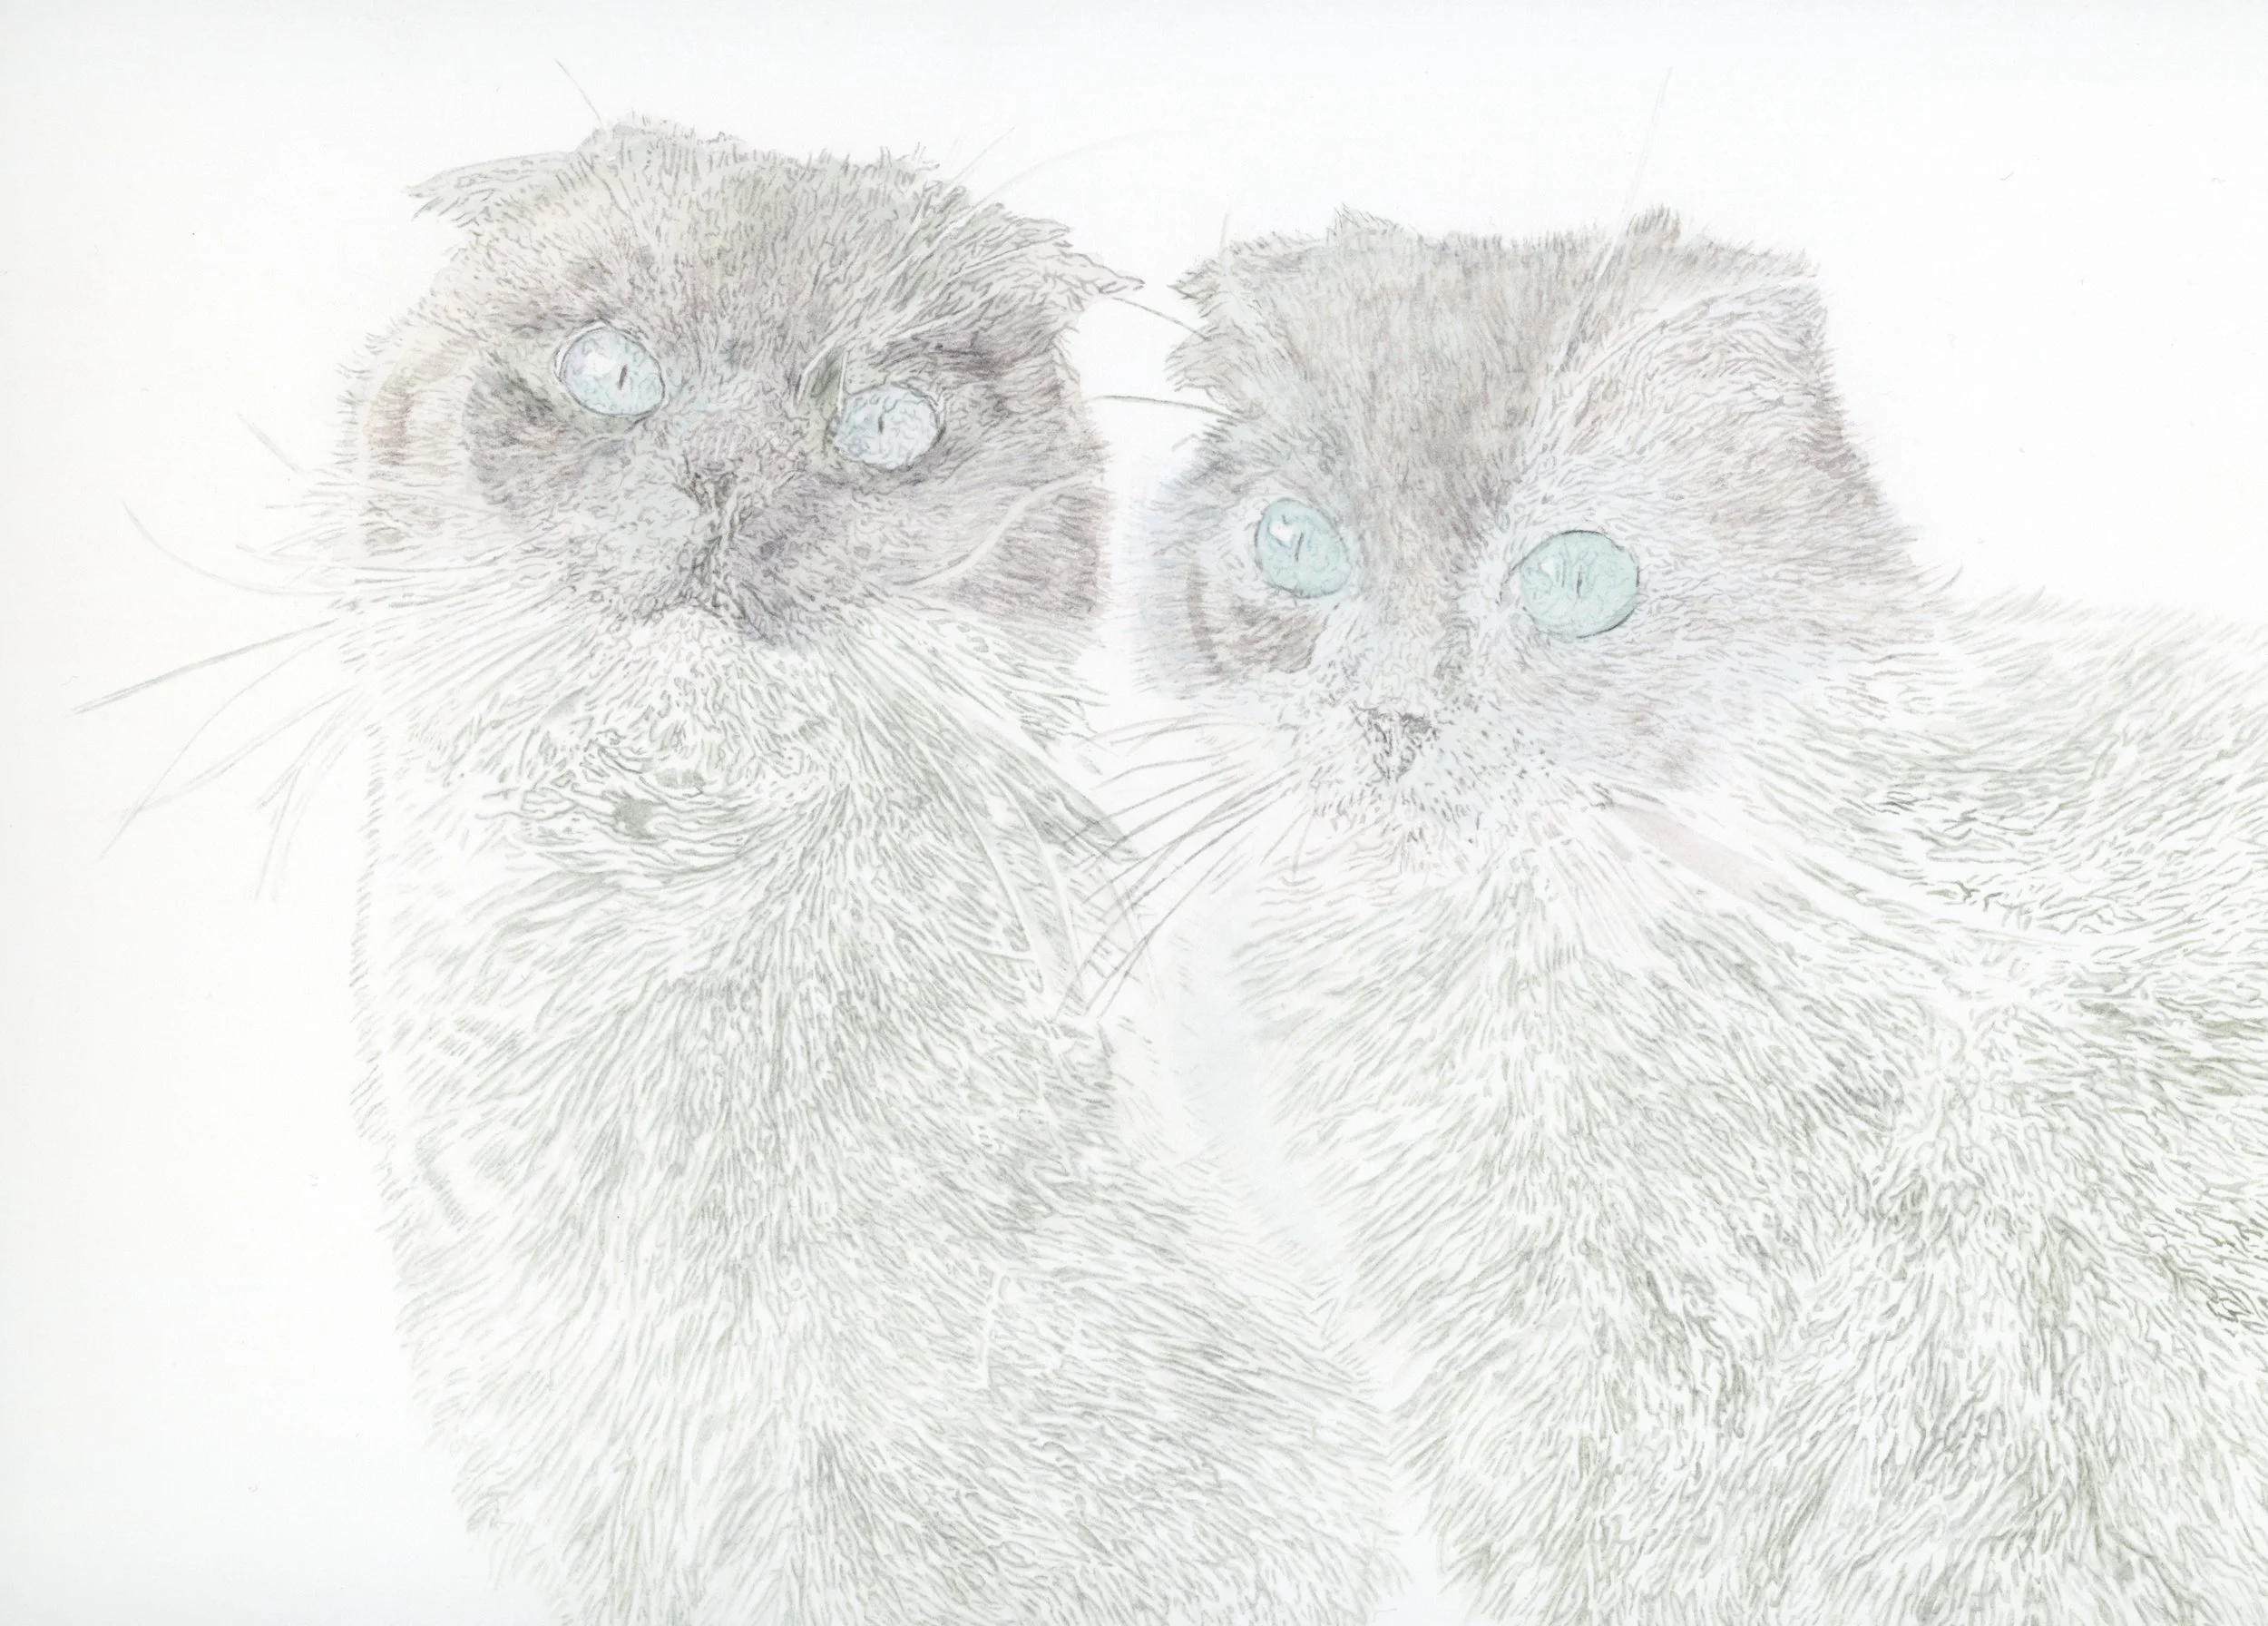
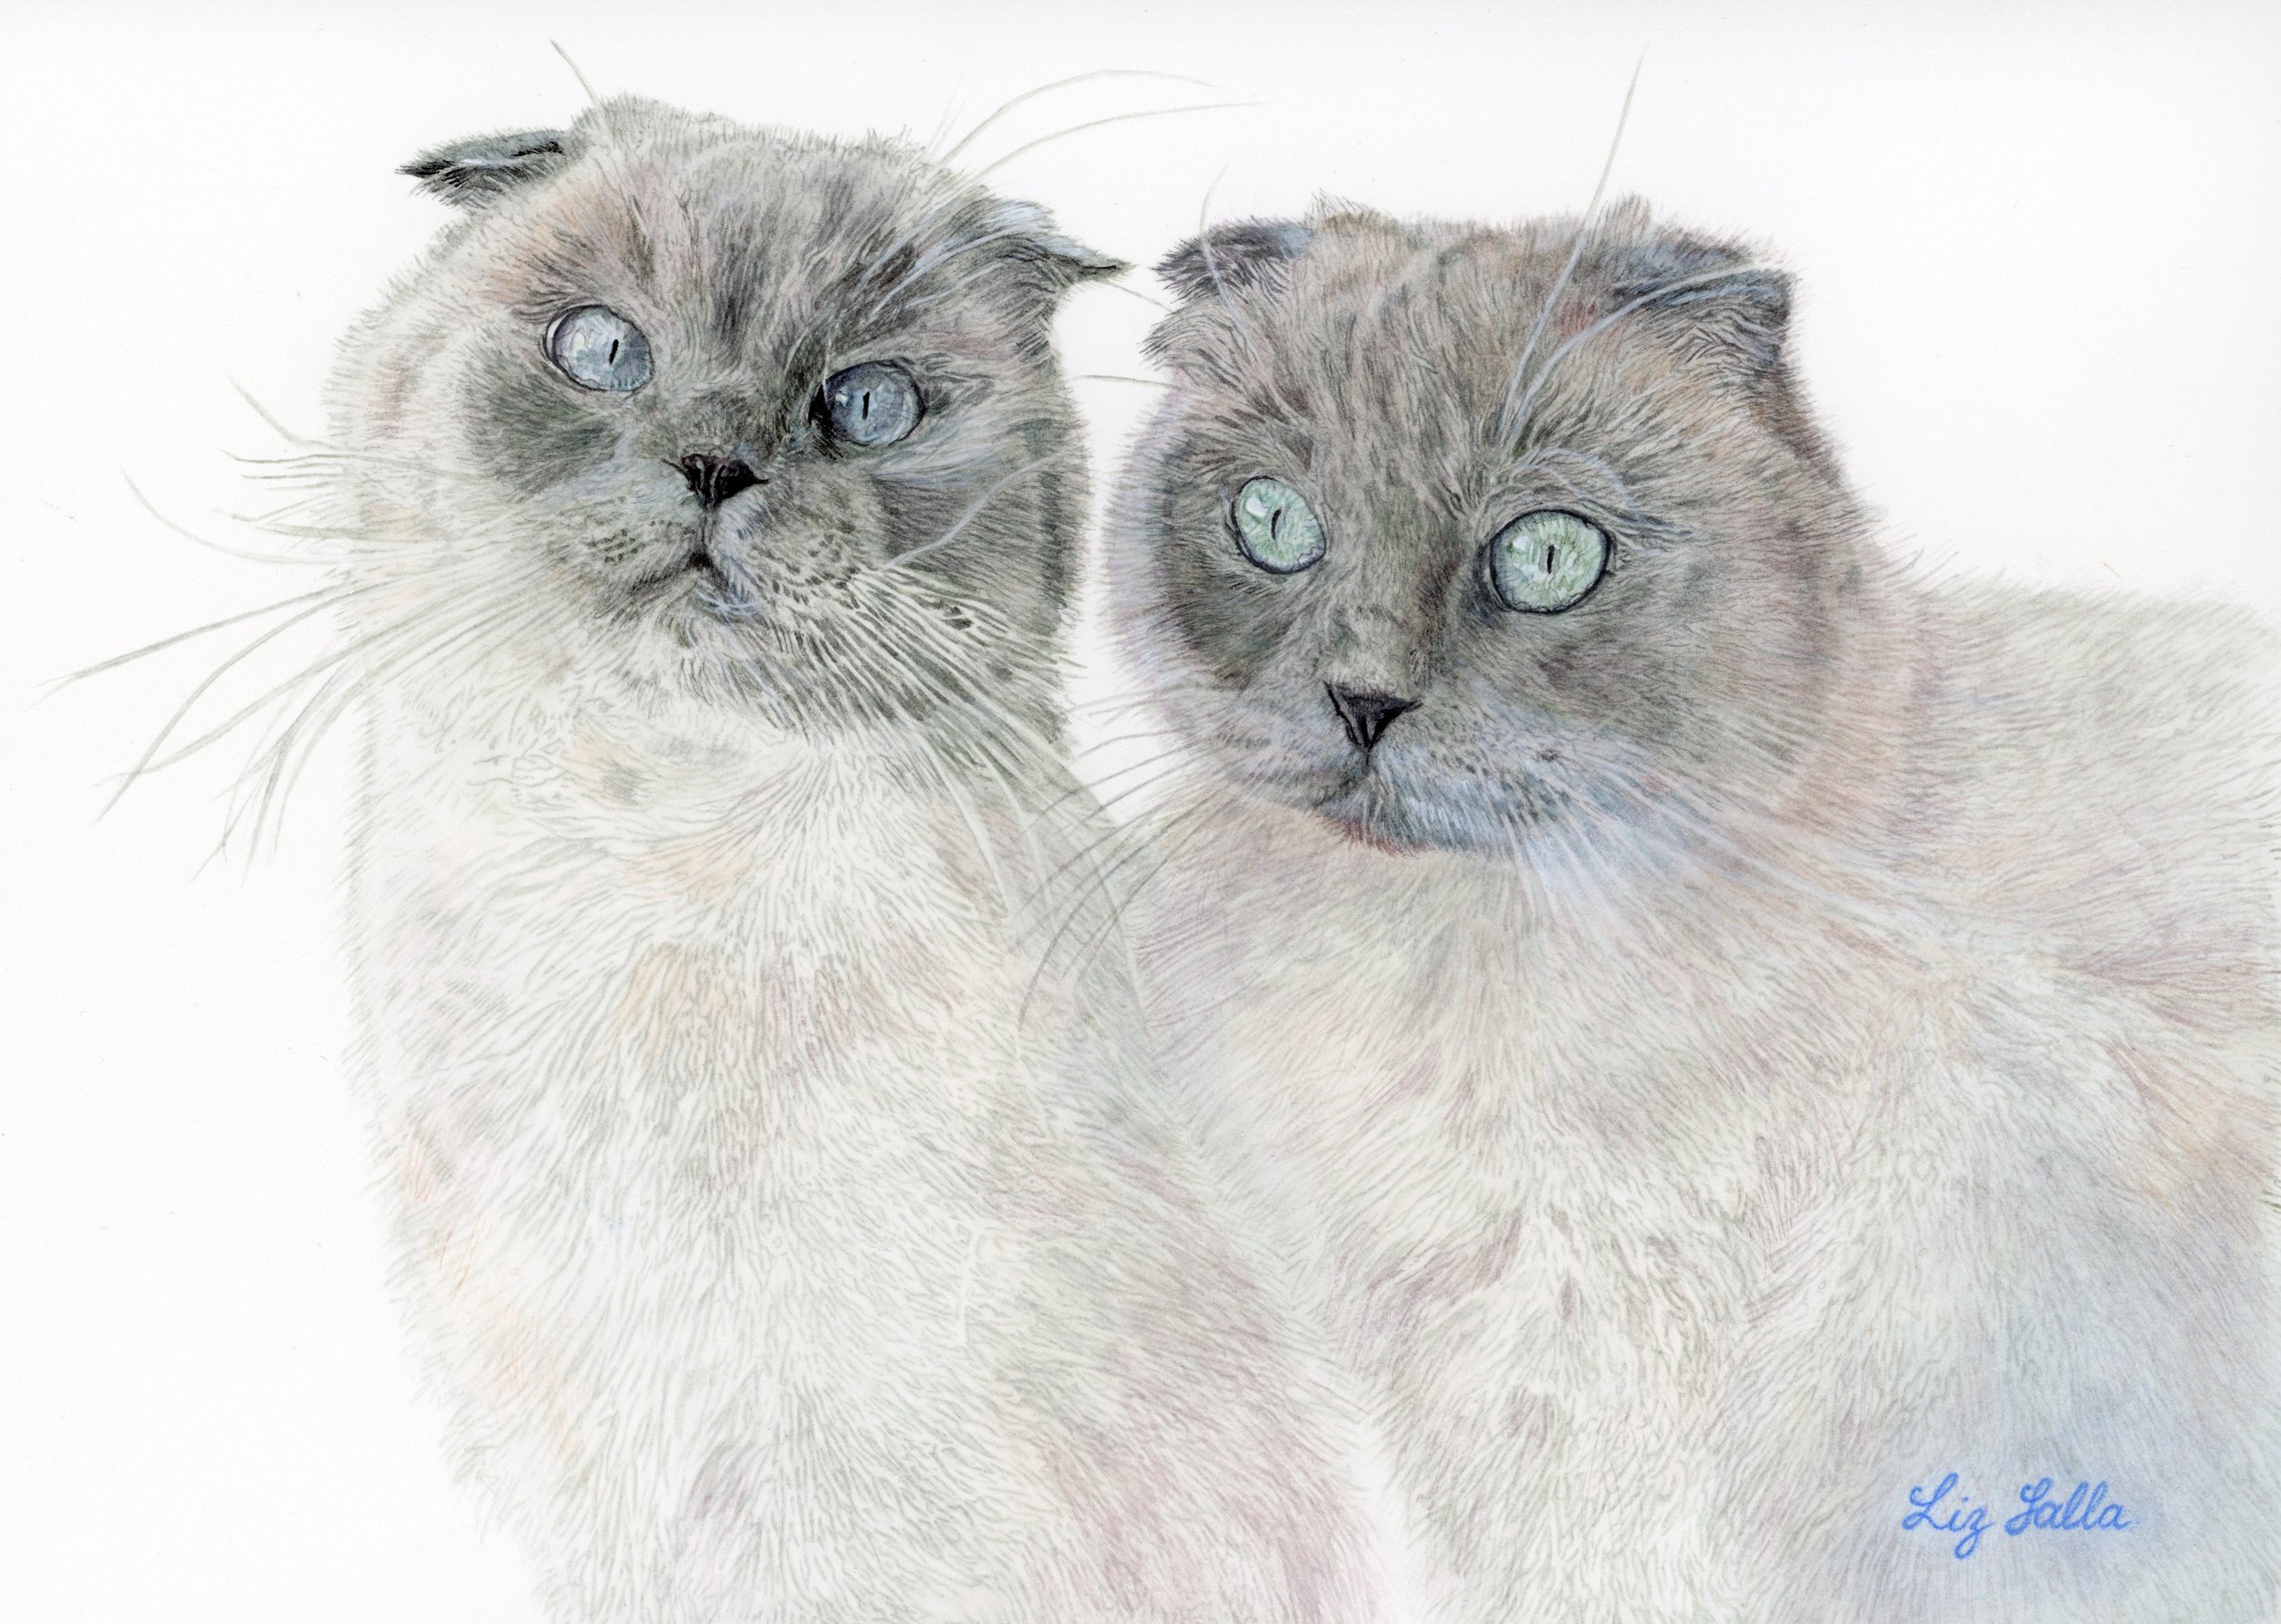
Once the foundational layer is in place, the hard work begins. I primarily use miniature brushes and the dry-in-dry technique, which allows precise control over color application. I gradually build up pale layers of color until these adorable Scottish Fold kitties come to life. Early stages are often “ugly,” but trusting the process is key. One brushstroke at a time, one step at a time, I work toward achieving a realistic look.

Eyes: Whether you’re painting humans or animals, eye reflections are everything. Eyes are said to be a mirror to the soul, and without these reflections, eyes tend to look flat, so capturing them is critical for bringing the portrait to life.
Fur: I paint detailed fur by layering individual strands with deliberate intention. This stage demands enormous concentration and can take a long time, which sometimes really drives me crazy.
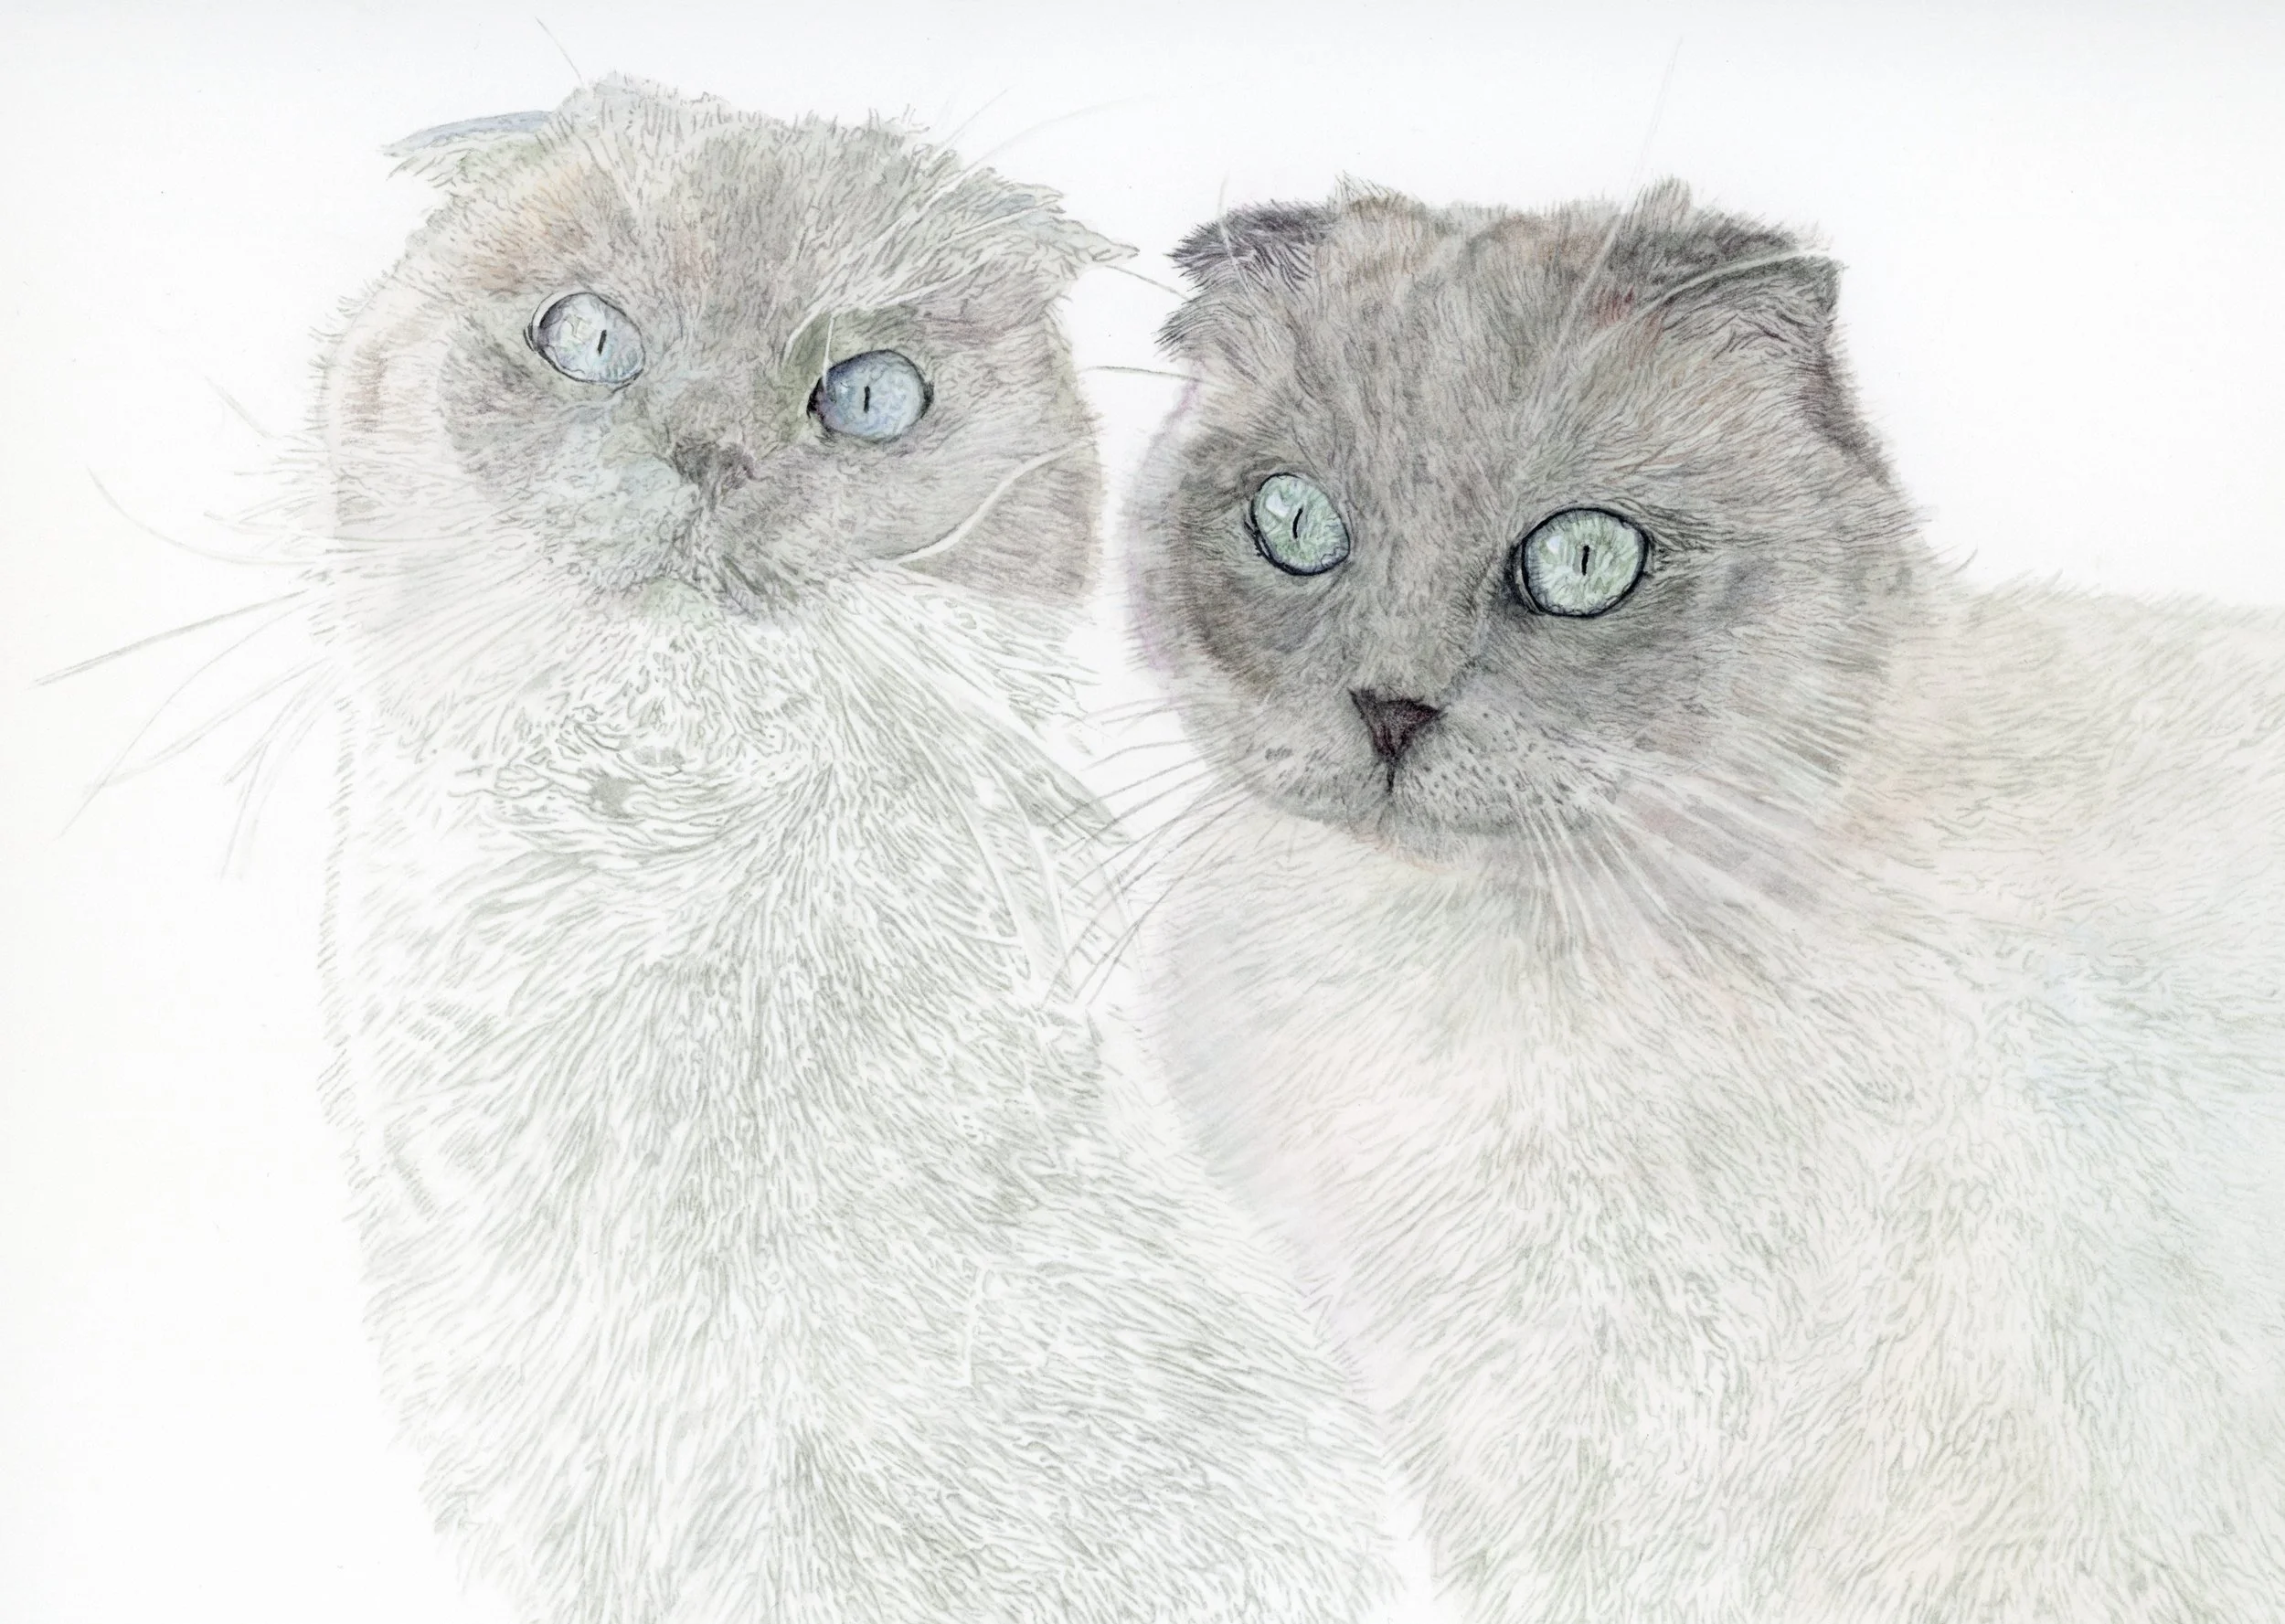
White gouache: In my pet portraits, I sometimes use white gouache, which I never use in any of my other watercolor paintings. In transparent watercolor, the brightness of whites comes directly from the paper itself. Leaving areas unpainted allows light to reflect off the paper and shine through the transparent layers of paint, creating a natural glow. White gouache, by contrast, covers the paper and produces a flat, opaque effect that can feel less vibrant and less “alive.” Its use in pet portraits must always be subtle and selective. In this portrait, Nyx (on the right) has a small amount of white gouache in certain areas, creating a lovely contrast with Astra (on the left), whose fur I painted mostly using a negative painting technique and only used white gouache in the right area of her face.
Stage 7: Detail work
Detail work is crucial in creating realistic pet portraits because it transforms a painting from looking “nice” to truly “lifelike.” The delicate shading on the nose, the subtle fur patterns unique to each pet, and all of these tiny observations and nuances help capture your pet’s personality.
Watercolor may be challenging, but the results are magical. With careful planning, patience, and attention to detail, you can capture the personality and softness of a beloved pet in a way that other mediums simply cannot match.
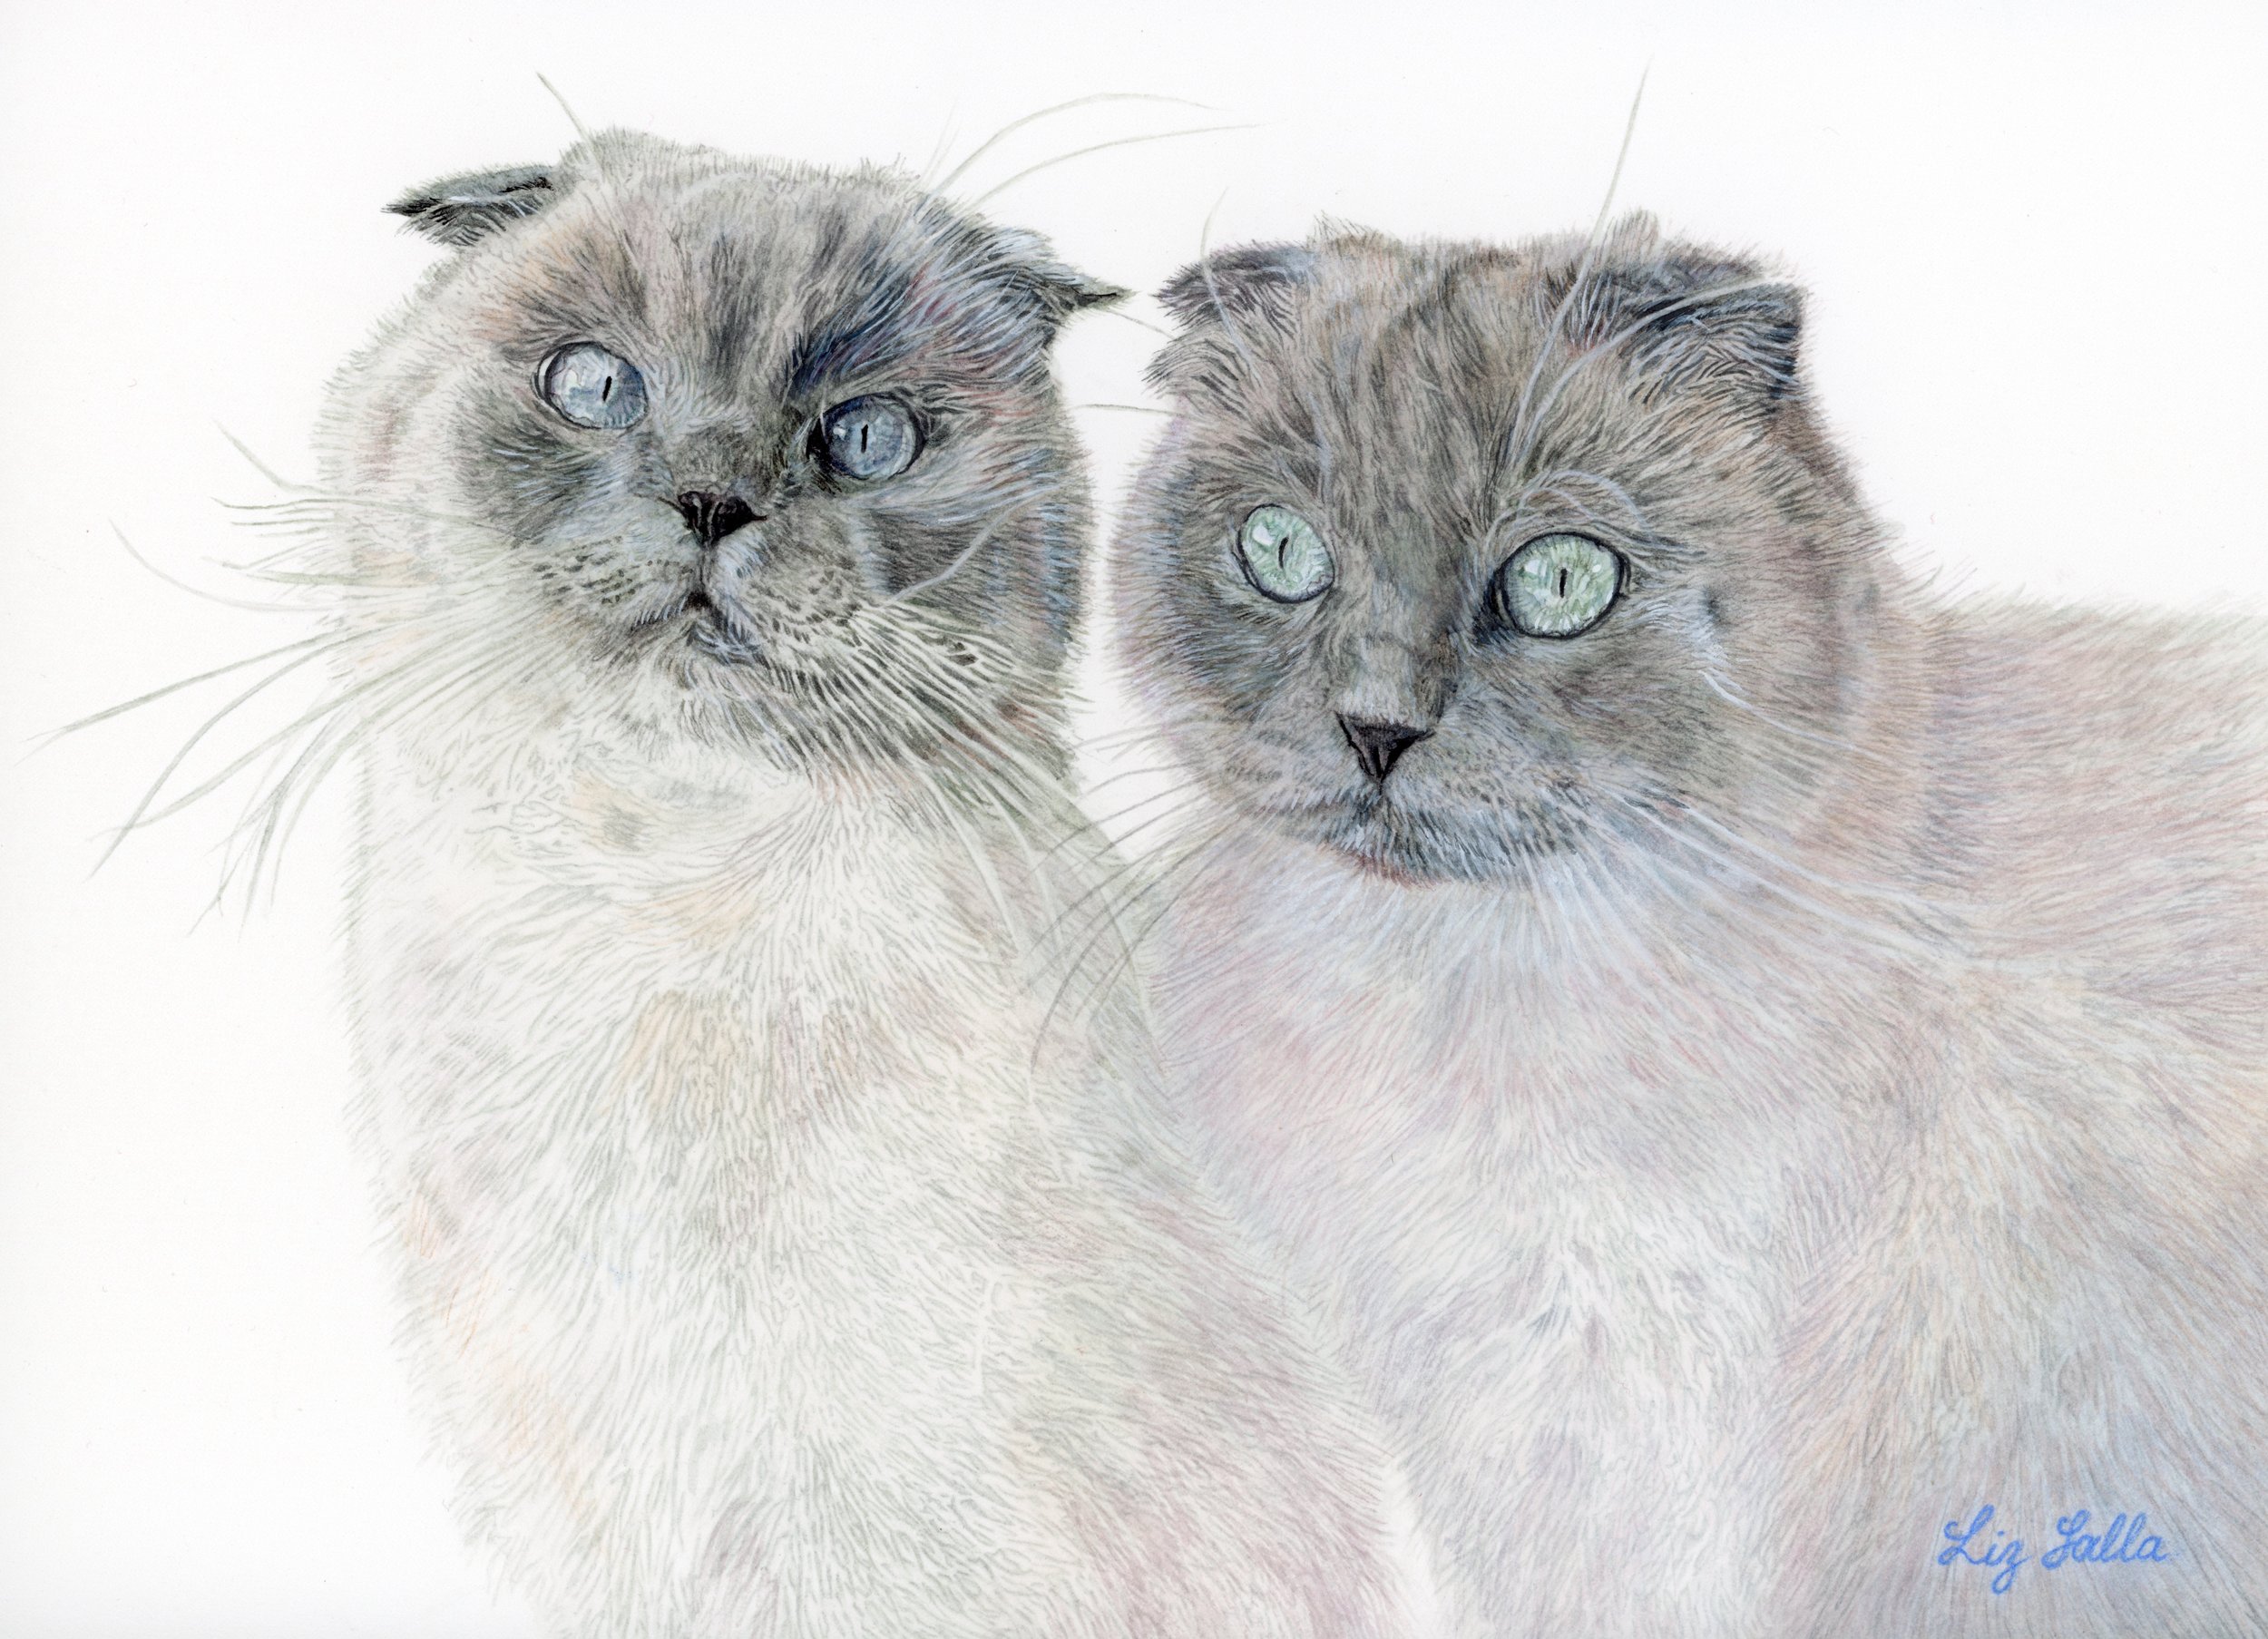
And here’s a portrait of Nyx and Astraea, all complete.
The whole process took me about 92 hours.
Looking for a way to treasure your pet forever?
I create detailed, lifelike watercolor portraits that capture exactly what makes your fur babies special.
Reach out today to commission your custom portrait and bring your pet to life on paper!
Curious about commissioning a pet portrait or want to know the prices? Explore my step-by-step guide: